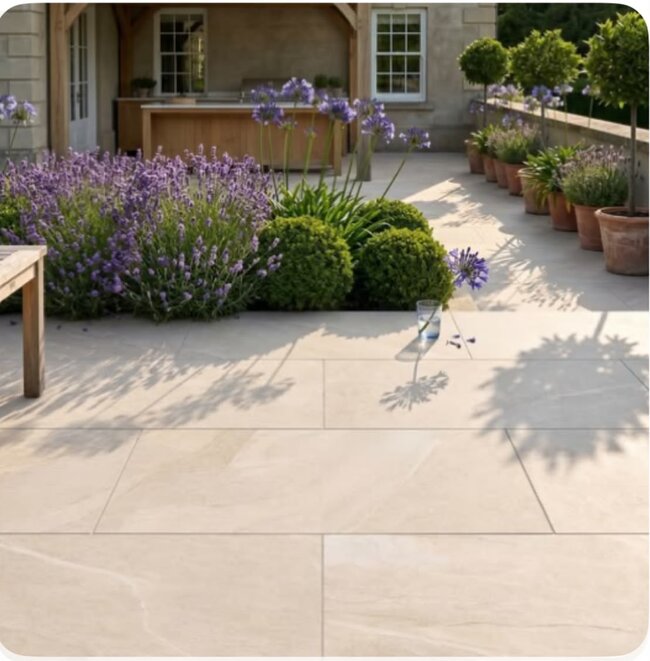
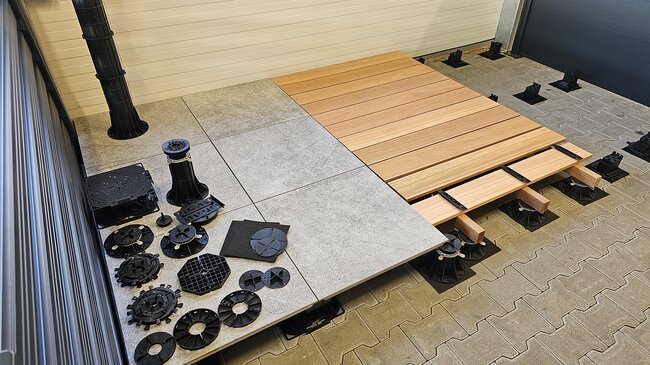
Installing a terrace on support pads or pedestals (terminology used interchangeably), i.e. creating a raised deck terrace, is very simple compared to traditional installation systems, which is why it is becoming increasingly popular.
But what exactly is a raised deck terrace and how does it differ from a traditional terrace?
See also: What is a raised deck terrace
Over many years of working with terraces, we have managed to gain a lot of valuable information about both raised deck terraces and traditionally bonded terraces. That is why we know the differences, disadvantages, and advantages of both systems.
We have prepared a comparison of these two systems-
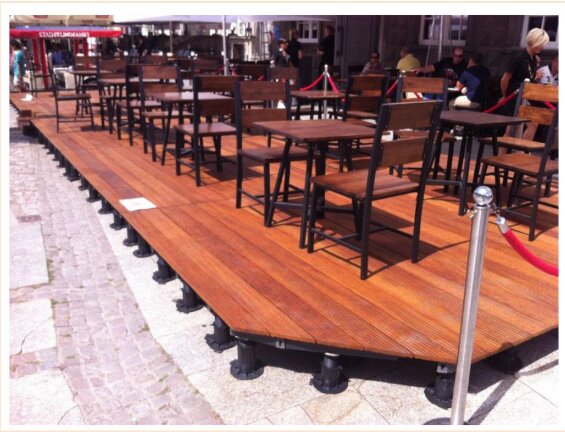
Raised deck terrace - advantages and disadvantages
Structural advantages
- rainwater does not accumulate on pavers/wooden decking boards
- water does not freeze on the layers below and does not crack the floor and pavers from the inside
- does not cause damage to the waterproofing
- minimal amount of tools and materials required for installation
- has a very lightweight structure
- water can freely flow to specially designed and installed drains
- the created void allows us to run various installations, e.g., electrical, lighting, beneath the top covering
Functional advantages
- possibility of quick adjustment of the floor level and its slope
- the pads are an eco-friendly product
- terrace pedestals have very high resistance to temperature changes - both high and low
- the pedestals are also resistant to UV radiation
- practically on any surface, the plastic support pads can be adjusted to lay the pavers
- the void under the terrace improves acoustics, i.e., dampens noise
Maintenance advantages
- maintenance of the substrate is very simple (depending on the structure/texture of the paver, it is recommended to use a mop or pressure washer)
- terrace pavers have no direct contact with the substrate
- the system allows us to quickly and non-invasively check the insulation (we can dismantle each element separately to check the condition of the substrate)
- by removing each paver individually, you can easily access the inspection drains
Preparation for installing a raised deck terrace on support pads
At the beginning, let's analyze the installation process of a raised deck terrace, which we will later divide into a terrace with pavers and one with decking boards.
1. First, an inventory (measurements) of the terrace should be taken
It will be needed to calculate the amount of materials required for installation. Here is an example photo of the completed inventory:
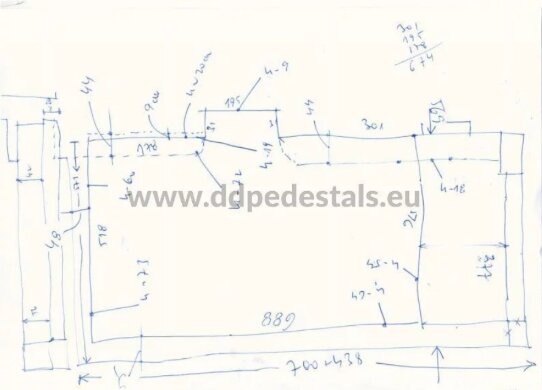
We begin installation with measurements and a preliminary sketch
It is also a good idea to create a design. This will allow for accurate calculation of the materials needed for construction and will facilitate installation work.
The height of the final floor is best and most accurately marked out using a laser level. It will allow you to properly determine the geometry of the terrace.
Check whether the substrate is level.
The substrate must be stabilized so that the base rests evenly and rigidly on compacted ground, stable concrete screeds, or leveled waterproofing.
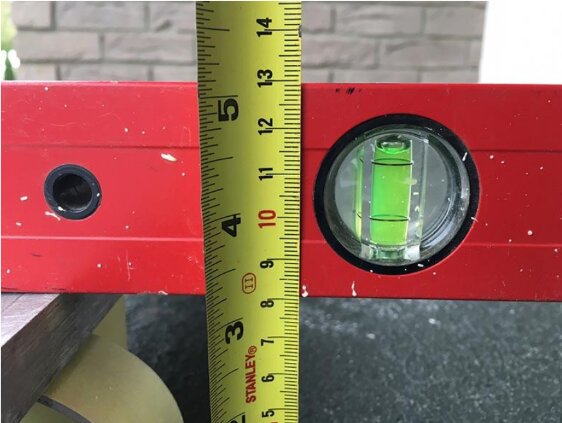
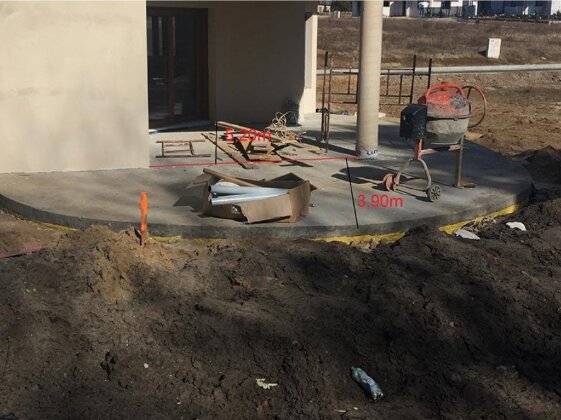
Correct base for adjustable and fixed pedestals:
Clean the surface of any debris.
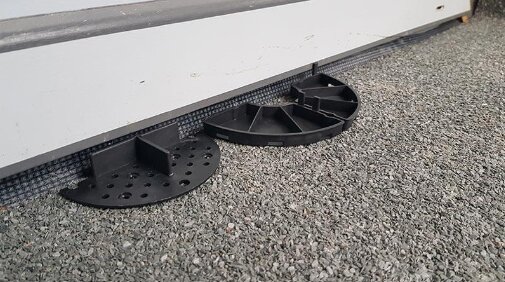
The surface under the terrace must be thoroughly cleaned of dirt
An important step is cleaning the area where we will be placing the pedestals and terrace pavers.
- Check whether your ground is sufficiently hard
It is especially important to check the hardness of the substrate. So that you can safely lay on it - it can be:
- screed
- concrete slab
- concrete block on the ground
- concrete grid paver
- hard styrodur XPS / EPS / PIR
If the ground is insulated with a waterproofing layer or hydro-insulation, rubber shims made of SBR rubber granulate should be used for protection. Protecting the waterproofing layer against abrasion with SBR support pads
The assembled pedestal can be locked by screwing the base together with the screw.
The illustrations below show this case:
Locking the pedestal and height coupler
A: If your substrate for installation is not covered with a waterproofing layer, you can screw the pedestal to it using screws. This is recommended when there is a risk of the pedestals shifting.
B: However, if your substrate for installing terrace pavers is insulated against water penetration (even in deeper layers), you can glue the pedestal using a special adhesive compound that will bond the plastic to the concrete.
Gluing the pedestal to the ground
C. Not fastening the pedestal to the surface on which it stands
If there is no risk of the pedestals shifting, or the waterproofing is not protected with an additional layer, the pedestals can be placed on the layer without attaching them.
- Placing pedestals against the wall
Adjusting the pedestal base when installing terrace pavers against a wall and in a corner is also very simple to do. Simply adjust the support pad to the specific case and cut its base according to the requirements.
Pedestal adjusted to the edges
Let us now move on to laying the pavers on the spacers
- Terrace pavers on support pads - laying
Finally, simply lay the terrace pavers on the placed pedestals
We have described this in more detail here:
See also: Laying pavers on a raised deck terrace - installation rules
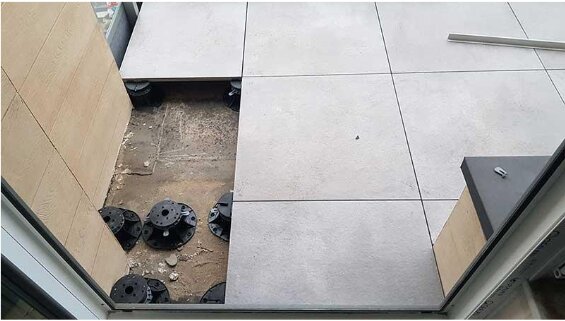
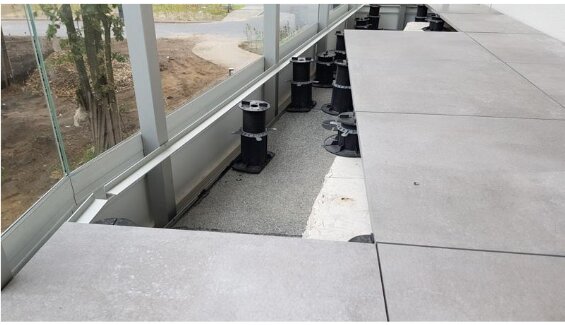
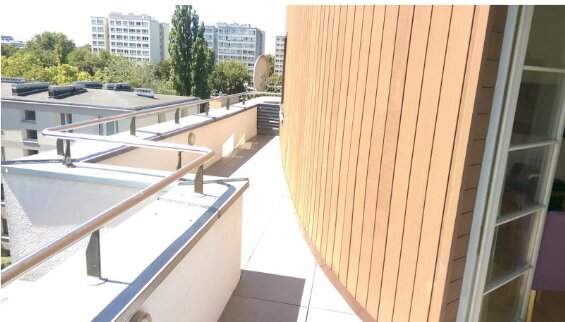
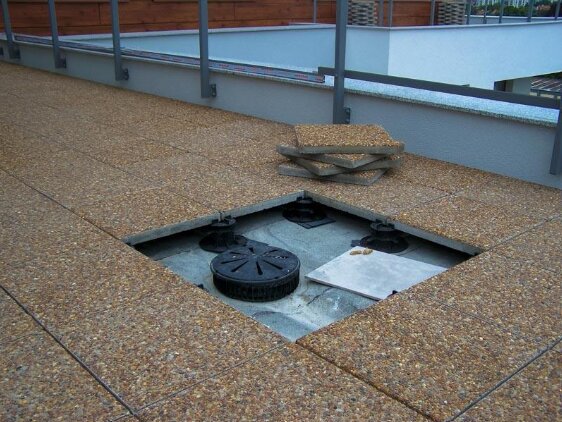
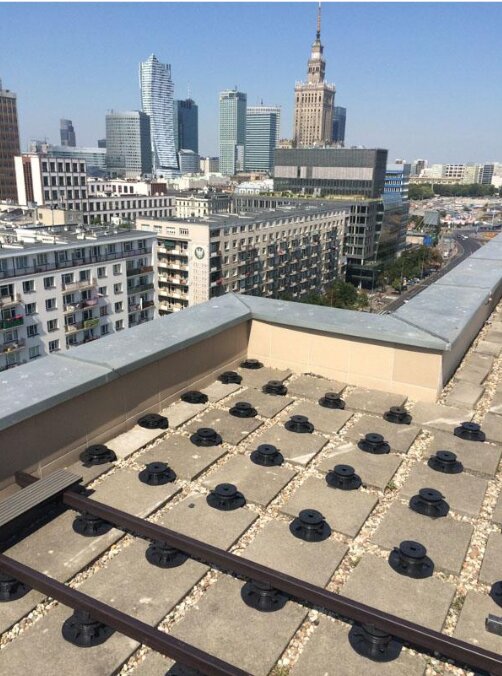
Critical areas on the terrace:
Below you can see common critical points on the terrace that are particularly worth planning.
Strategic points typically found on terraces and balconies.
A. Terrace entrance
The entrance is usually the ideal place to start planning the height of the raised deck terrace.
A properly matched threshold height will allow for comfortable passage from the room to the outside.
Installation at the terrace entrance.
B. Low height - proper selection of pedestals.
In cases where the raised deck terrace has a slope starting from "zero", terrace pavers should be laid on fixed-height support pads, or general-purpose rubber construction pads. DD Group pads are specially adapted for terrace pavers and have joint spacers.
If necessary, fixed terrace pedestals can be leveled to the required height by inserting rubber shims only on one side of the terrace pedestal.
Selection of pedestals for low-height raised terraces.
C. Internal and external corners
The terrace corner requires the use of a pedestal that will fit into it perfectly. That is, the spacers should be removed from the terrace pedestal and placed under the paver. In cases where the bases of the terrace pedestals do not fit due to the small distance between them, its base should be cut.
Laying terrace pavers in internal and external corners
D. Diagonal terrace
Vertical diagonal elements require cutting terrace pavers into trapezoids or triangles. This forces a non-standard arrangement of terrace pedestals and proper fitting of the pavers, as in the example below:
How to lay pavers on a raised terrace with a diagonal
E. Terrace curve
Terraces often have curved parapet walls; in such cases, cutting the pavers will require greater precision and denser pedestal spacing. Cutting pavers along the curve should be planned at the very beginning of laying the terrace.
Finishing a balcony with pavers
F. Roof drain
The roof drain is usually located at the lowest point of the terrace. To avoid placing pedestals on the drain, it is necessary to make a "replacement" by placing pedestals next to the roof drain, on which a paver is placed, and on it, the final pedestal supporting the terrace pavers is set.
Roof drain
Installation See also: Standard.
- Plan the space
Develop a layout plan for the pedestals, paying special attention to areas such as corners, thresholds, and doors. The spacing of the pedestals depends on the size of the joist cross-section and the weight of the terrace. A string line is helpful for keeping straight lines.
First, plan the space
- Positioning the pedestals.
Prepare the pedestals by placing spacers in the head to match the joist width, or use joist adapters. Position the pedestals in the appropriate locations. Additionally, if the substrate is uneven, a slope corrector can be used to compensate for slopes of up to 8%.
Properly positioned support pads
- Laying the joists can be done in two different ways.
A. On terrace pedestals with spacers. Place the joists on the pedestals and level them. Adjust them to the correct height using the nuts.
B. On terrace pedestals with joist adapters. Place the joists on the pedestals and level them. Adjust them to the correct height using the nuts. Secure the joists to the adapters with screws.
Two ways to mount joists on pedestals
- And the final element - screwing the decking boards onto the raised deck terrace
Whether on pedestals with spacers or on pedestals with joist adapters, the screwing process is the same.
Screwing the boards to the substructure
If you want to learn more about installation preparations:
See also: Most common mistakes during the installation of raised deck terraces
We encourage you to review the instructions, which clearly and legibly suggest what to pay attention to both before and during the installation of the paver in the raised deck terrace system.