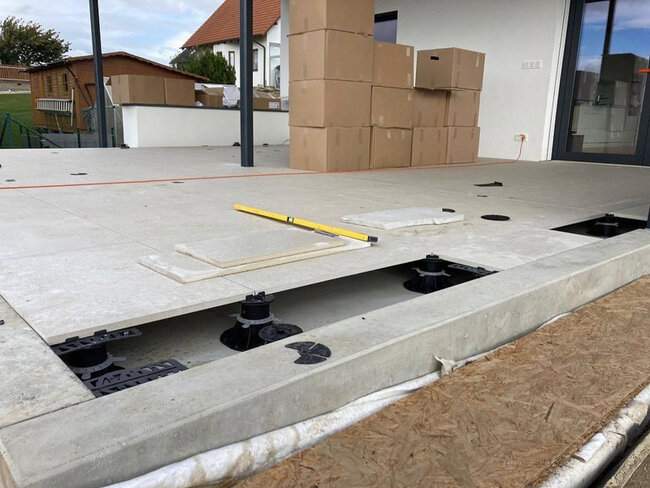
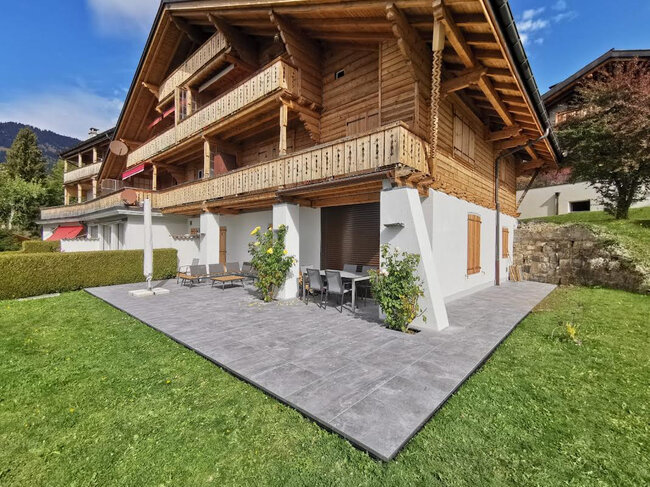
However, even simple projects can encounter unexpected obstacles. If your pavers are wobbly, the terrace seems uneven, or you hear strange creaking, don't panic. Most pedestal installation problems can be easily diagnosed and solved.
Here is a practical troubleshooting guide that will help you identify common problems with adjustable pedestal installation, understand why they occur, and fix them quickly.
Problem
When you walk on a newly installed surface, it seems uneven or individual terrace pavers tilt under your feet.
Likely causes
- Uncompensated substrate slope: The base substrate (e.g. drainage membrane on the roof) has a slope to facilitate water drainage, but the pedestal heads were not adjusted to level out this angle.
- Incorrect height adjustment of the pedestals: Individual pedestals were set slightly higher or lower than the adjacent ones.
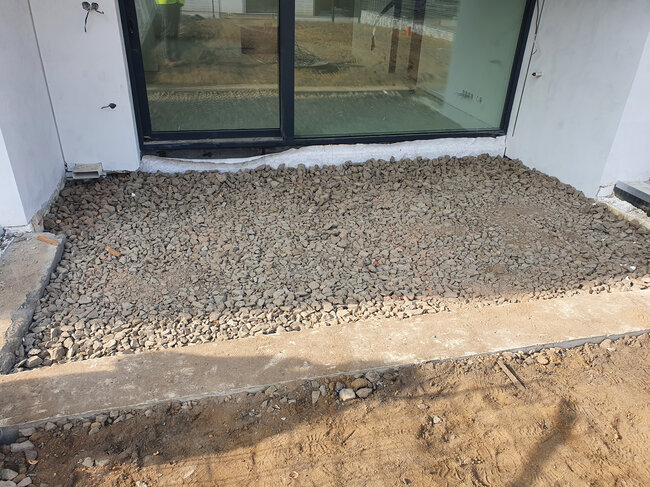
- Substrate settling or contamination: Soil, construction debris or uneven insulation under the pedestal base prevent it from resting completely flat.
- Please add information that the substrate, for example XPS, may be too soft
How to fix it
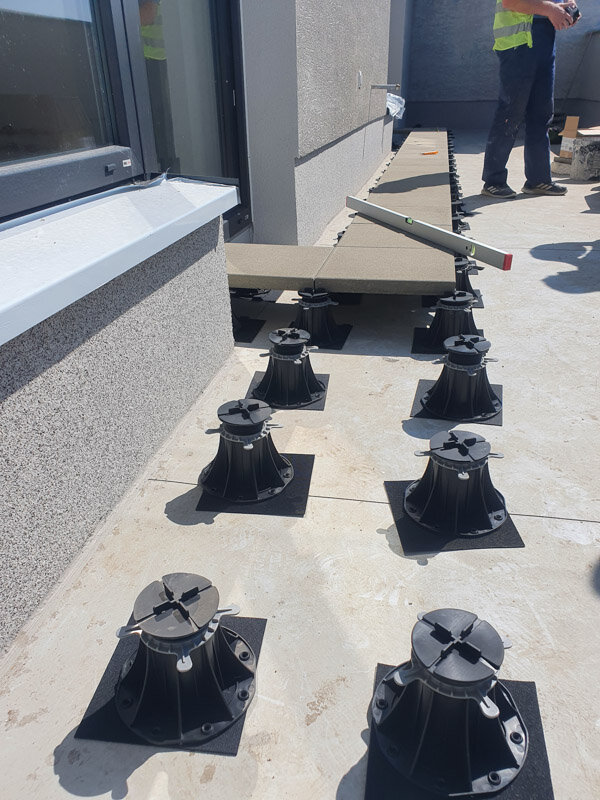
- Use slope correctors: Most modern adjustable pedestal systems allow for slope correction both at the base and at the head. Make sure the slope correctors are properly oriented to counteract the angle of the substrate.
- Recheck with a laser level: Use a laser level on top of the pedestal heads before laying pavers or joists, instead of leveling each paver after it has been laid.
- Clean the substrate: Lift the affected pedestal and check the base. Remove gravel, soil, or loose membrane fragments, making sure the pedestal base rests directly on a solid, even surface.
> Manufacturer's tip: When designing pedestal systems, we always emphasize the importance of preparing a clean substrate. Spending an extra five minutes sweeping the installation surface saves hours of later adjustments.
2. Wobbly, rocking or "swaying" terrace pavers

Problem
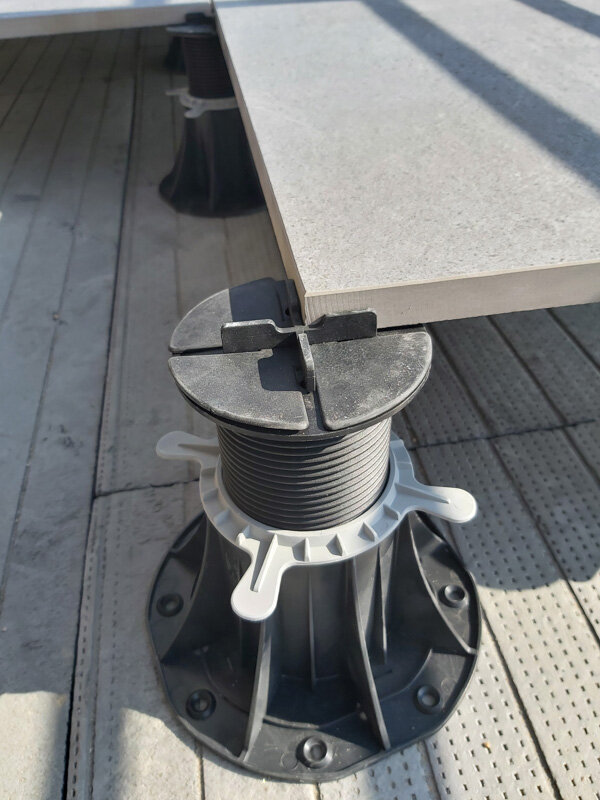
A terrace paver or deck board is stable on three corners but rocks back and forth when load is applied to the fourth corner.
Likely causes
- Differences in paver thickness: Minor production deviations in the thickness or flatness of stone or concrete pavers.
- Slight height offset: The pedestal head is a fraction of a millimeter too low in one corner.
- Missing or damaged spacer tabs: The spacer tabs create even gaps, but if one breaks or is missing, the paver shifts out of position.
How to fix it
- Insert shims / leveling shims: Place thin rubber leveling shims directly on the pedestal head under the low corner. The rubber shims cushion the paver while compensating for minor tolerances.
- Rotate the paver: Sometimes rotating the paver by 90 or 180 degrees balances out minor thickness differences.
- Check the spacer tabs: Make sure the integrated spacer tabs on the pedestal head are intact and sit against all adjacent pavers.
Problem
Walking on a terrace on pedestals causes squeaking, creaking or crunching sounds.
Likely causes
- Debris between the paver and the pedestal: Sand, gravel or soil trapped between the underside of the paver and the plastic pedestal head.
- Direct hard-to-hard contact: Rigid stone or concrete resting directly on hard plastic without acoustic/cushioning pads.
- Joist friction: In joist-supported terrace systems, wooden or aluminium joists rubbing directly against the plastic load-bearing heads without secure fastening.
How to fix it
- Add rubber acoustic shims: Install rubber shims on the heads of each pedestal. These shims absorb shocks, reduce footstep noise and prevent sand from rubbing between surfaces.
- Clean the contact points: Lift the noisy paver and wipe both the pedestal head and the underside of the paver.
- Secure the joists properly: When using a joist structure, make sure the joists are clamped or fixed according to the specific manufacturer's guidelines to stop micro-movements.
4. Perimeter or edge pavers shifting out of place
Problem
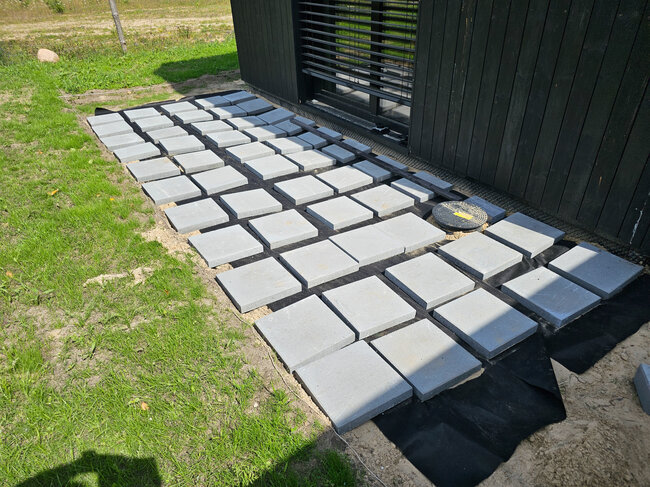
Pavers along walls, parapets, or open edges shift outward, creating wide gaps or dangerous instability.
Likely causes
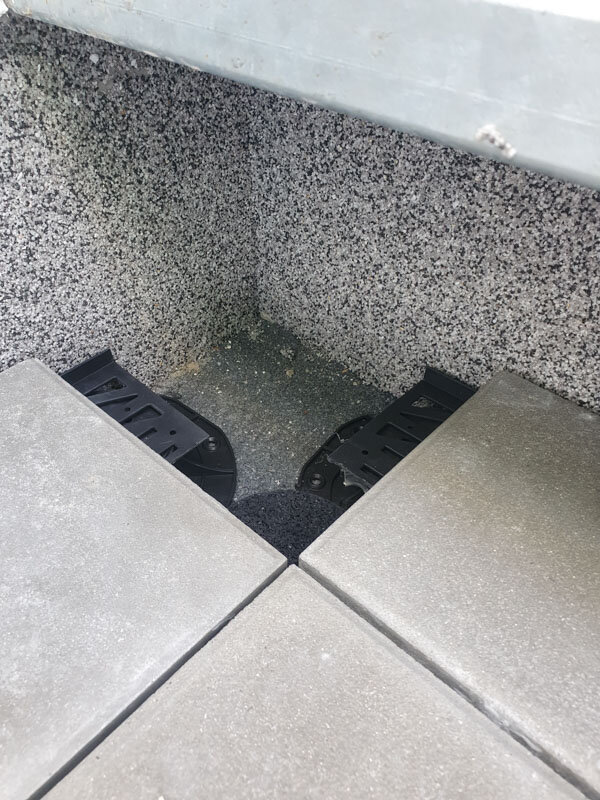
- Incorrectly removed spacer tabs: Edge pedestals often require cutting or removing specific spacer tabs, which can leave edge pavers unsupported on one side.
- Lack of lateral restraint: Pedestal systems require a rigid boundary (wall, parapet, or edge restraint) to keep the layout in place.
- Overhanging edges: Pavers overhang too far beyond the outer edge of the pedestal head.
How to fix this
- Install perimeter clips or wall spacers: Use dedicated perimeter clips or stainless steel wall spacers at parapet walls. They maintain the expansion gap while preventing the tiles from shifting back toward the structure.
- Use edge restraints on open edges: On open edges without a wall, install a structural restraint or edge profile fixed to the pedestals to lock the perimeter tiles in place.
- Trim the bases correctly: When placing pedestals directly against walls, trim the pedestal bases along the marked cut lines so that the vertical central column sits as close to the edge as possible.
> Manufacturer's tip: In our engineering tests, edge displacement was almost always caused by missing perimeter clips. Never rely on friction alone to keep the edge tiles in place.
Problem
Pedestals tilt or sink into the substrate over time, potentially damaging roof membranes or insulation.
Likely causes
- Concentrated point load: A large weight distributed over a small area of the pedestal base pressing into soft insulation or flexible waterproofing.
- Incompatible membranes: Chemical incompatibility between certain plastic materials and specific waterproofing membranes or bituminous coatings.
How to fix it
- Use protective pads under the membrane: Always place a compatible rubber protective mat or a layer of geotextile under each pedestal base. This distributes point loads and protects the membrane from abrasion.
- Check the load capacity: Make sure your pedestal model is suited to the combined weight of the finishing materials, furniture, and expected foot traffic.
- Check the substrate density: When installing on insulation boards, make sure they have sufficient compressive strength (typically high-density XPS or an equivalent designed for pedestal loads).
General principles of correct installation
Although the specific solutions depend on the chosen pedestal system, a few general good practices apply to every project:
- Plan the grid first: Lay out the grid lines from the center outward to ensure even, easy-to-make cuts around the perimeter.
- Work within the recommended height ranges: Never extend a pedestal beyond its maximum specified height. If you need greater height, use compatible height couplers recommended by the manufacturer.
- Follow local building regulations: Make sure that wind load considerations, slope regulations, and fire classifications meet regional requirements.
If you encounter an obstacle that troubleshooting won't solve, check the product manual or contact technical support. When installers contact us directly with photos of the layout or construction drawings, we can usually spot minor alignment issues and suggest simple solutions before small hiccups turn into big problems.