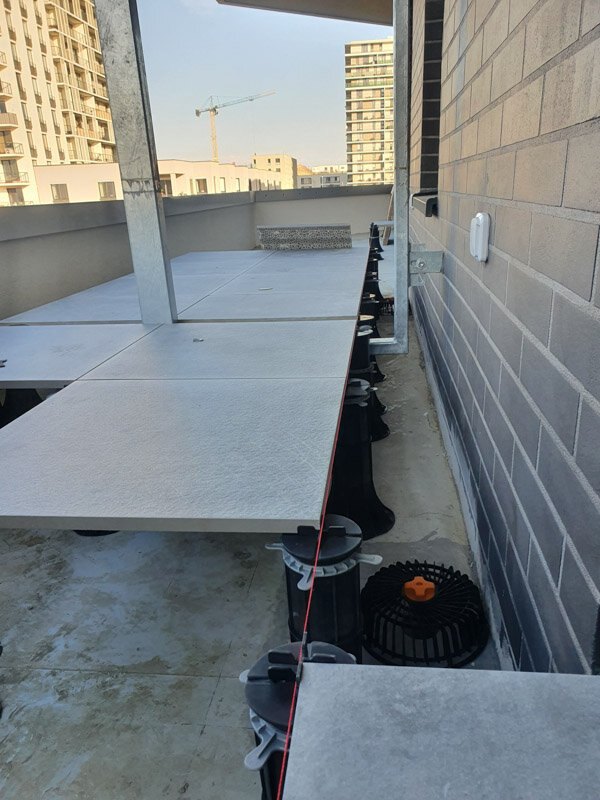
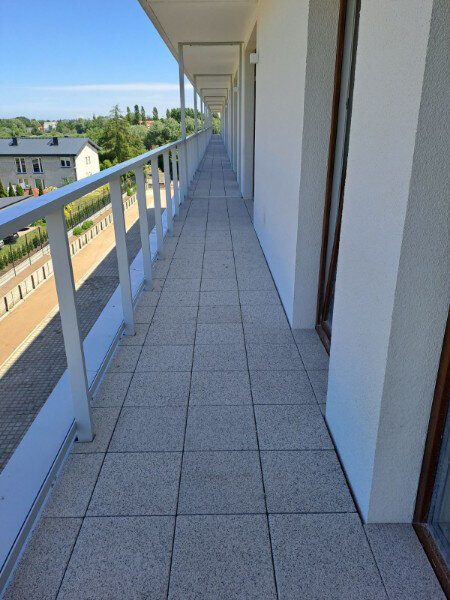
The real headache begins when you reach the edge.
Perimeter and corner tiles require precise cuts, careful dry fitting, and full support along sensitive edges. Make a bad cut or miscalculate the overhang, and you'll end up with unstable tiles, chipped edges, or wasted high-end porcelain.
As a manufacturer of high-performance adjustable pedestal systems, we design our products specifically to solve these problems on site. Here is a practical step-by-step guide to cutting, fitting, and supporting perimeter and corner porcelain tiles on adjustable pedestals, without ruining the material and the schedule.
Why edges and corners are difficult
When you lay porcelain pavers in the middle of a terrace, each corner rests evenly on a quarter of the pedestal head. The load is evenly distributed across four pavers.
At the perimeter and in the corners, this support system changes:
- Fewer contact points: Pavers at the edge may rest on only two pedestals, and corner pavers often rest on only one main pedestal base, unless you adjust the support layout.
- Pedestal overhangs: If a paver overhangs the pedestal head near a parapet or wall, stepping on that edge turns the paver into a seesaw.
- Tight tolerances: External walls, flashings, and copings are not always straight. You must adjust and cut the porcelain to fit non-standard gaps while maintaining a drainage gap.
Because porcelain is extremely dense and hard, cutting it requires the right tools and techniques to avoid chipping or cracking the surface.
Tools you will need
Before you make your first cut, prepare the right equipment:
- Wet tile saw with a continuous diamond blade: Essential for clean, chip-free cuts through 2 cm (20 mm) thick outdoor porcelain pavers.
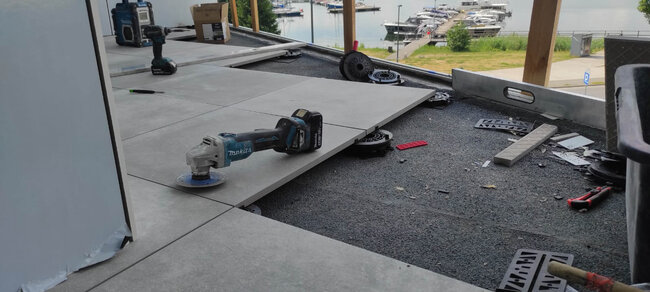
- Angle grinder with a diamond blade for porcelain: Essential for cutouts around posts or irregular wall profiles.
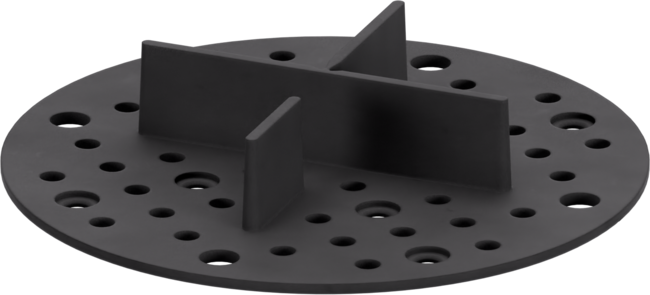
- Rubber shims for adjustable pedestal heads and spacer clips: For sound dampening, absorbing micro-vibrations, and maintaining a consistent joint width along walls.
- Tape measure, carpenter's square, and wax pencil: Ordinary pencil graphite will not be clearly visible on wet or textured porcelain.
See also: 2 mm tile spacer, 3 mm gap + 5 mm spacers – rubber
Step 1: Layout planning and preparation of perimeter pedestals
Do not measure edge cuts until the internal grid of pavers is fully laid and locked in place. Any minor shift in the main field will disrupt the perimeter measurements.
Adjusting pedestals at edges
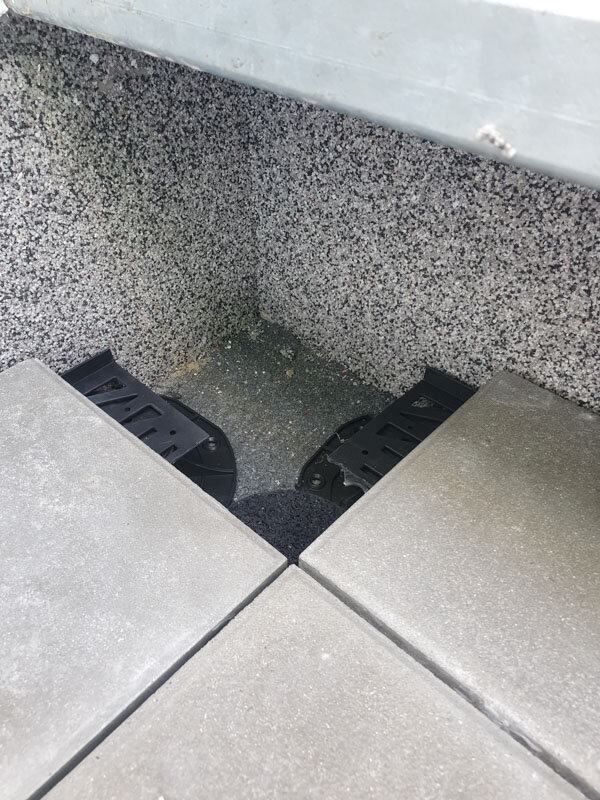
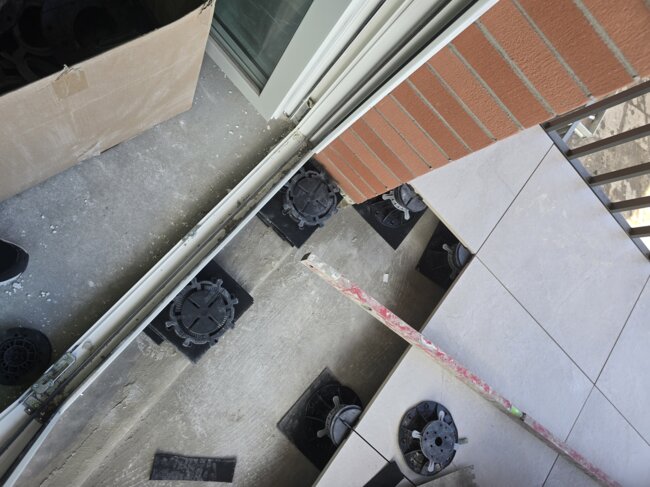
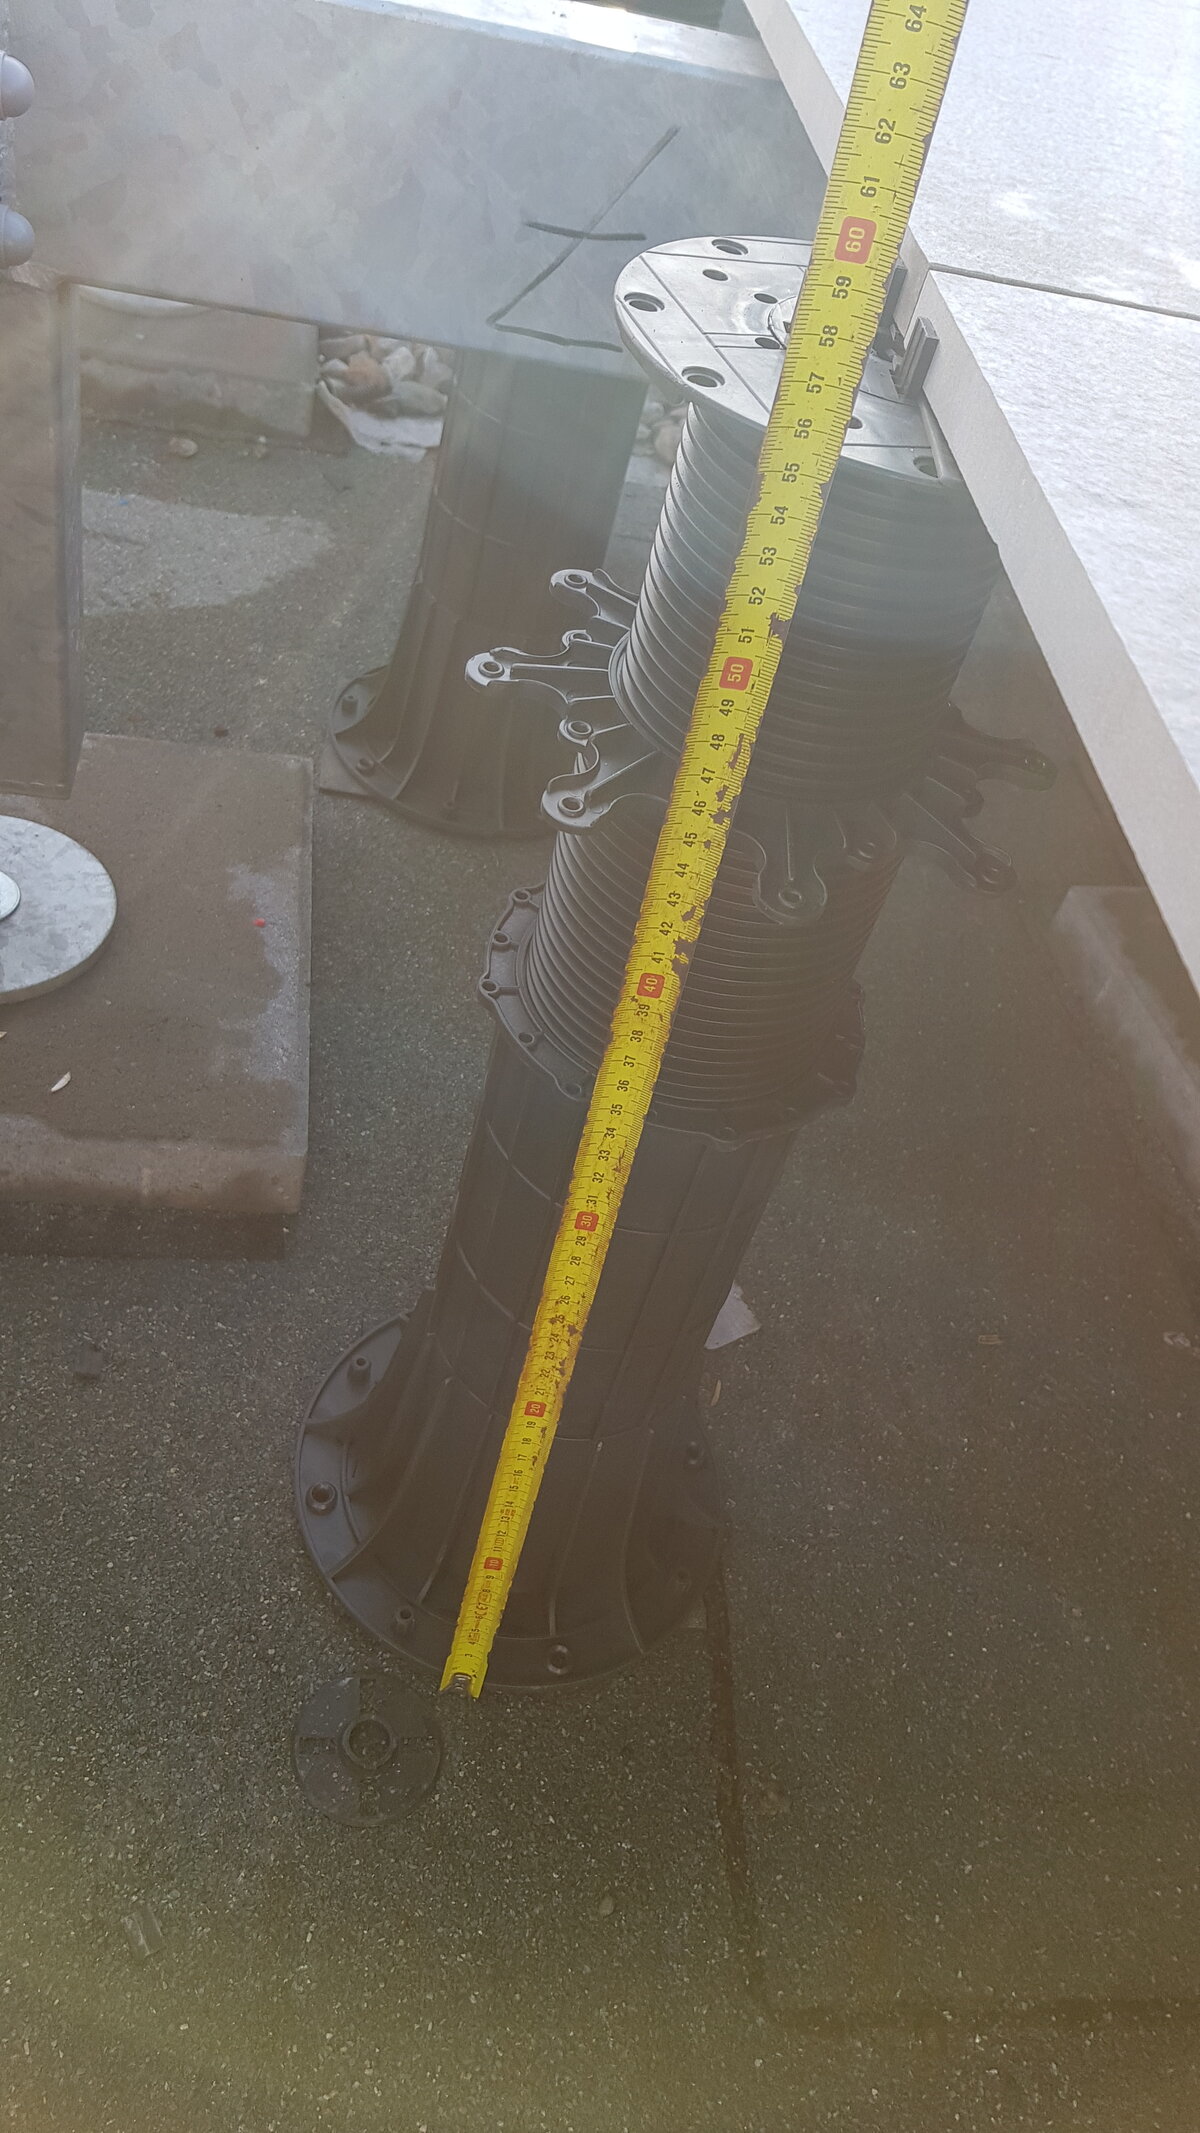
Standard pedestal heads have four integrated spacer tabs that ensure even joints between tiles. When pedestals are placed directly against a perimeter wall, these tabs get in the way.
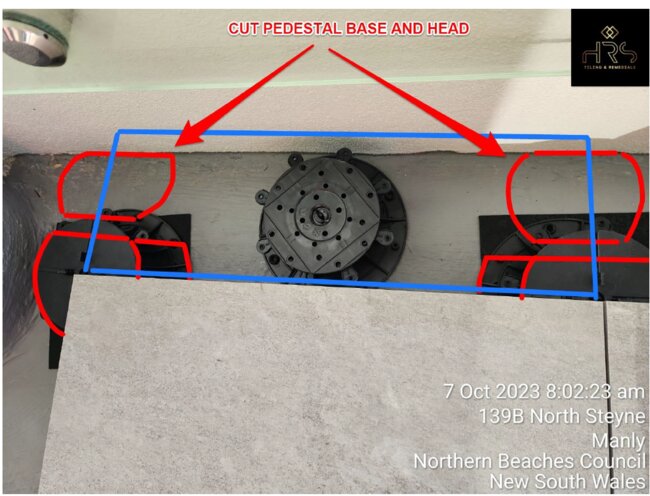
- Remove unnecessary tabs: Snap off the outer spacer tabs on the pedestal head at the point where the tile meets the wall, leaving only the tabs needed to maintain the gap between adjacent tiles.
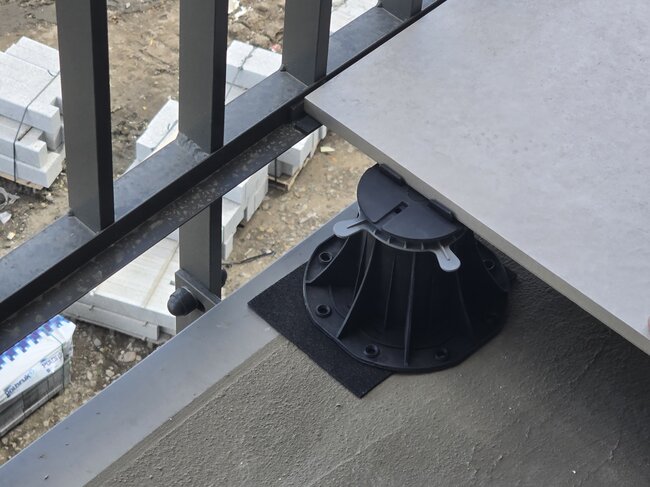
- Change the base position: Depending on the pedestal design, it may be necessary to cut or rotate the pedestal base plate so it sits flush against the edge wall or parapet trim without tilting. Our adjustable pedestals have removable spacer tabs and low-profile base options designed specifically to sit flat against perimeter walls without compromising structural stability.
Manufacturer's advantage: Unlike off-the-shelf pedestals that require installers to saw through structural plastic, our adjustable pedestals are designed with precisely scored, snap-off spacer tabs and offset base profiles. You can convert a middle pedestal into a flush-mounted perimeter pedestal in seconds, without sacrificing load capacity or structural integrity.
Step 2: Measuring and fitting the perimeter pavers
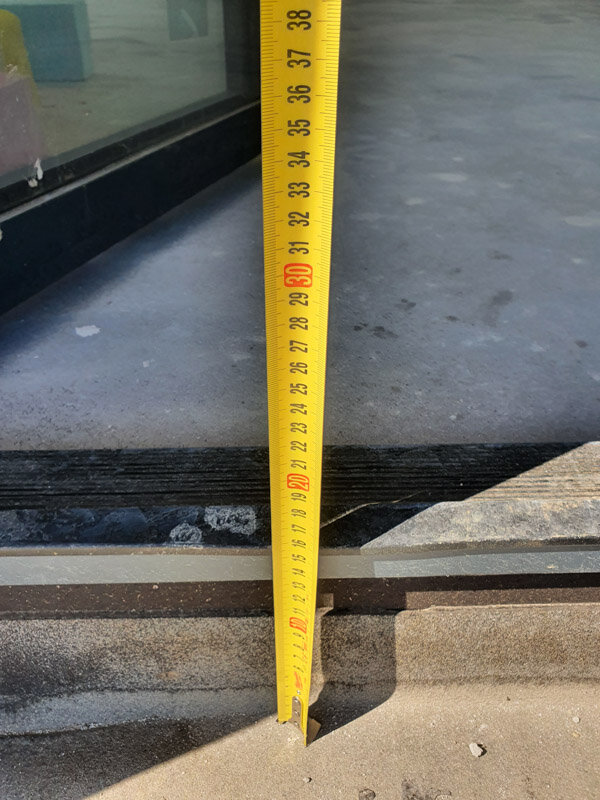
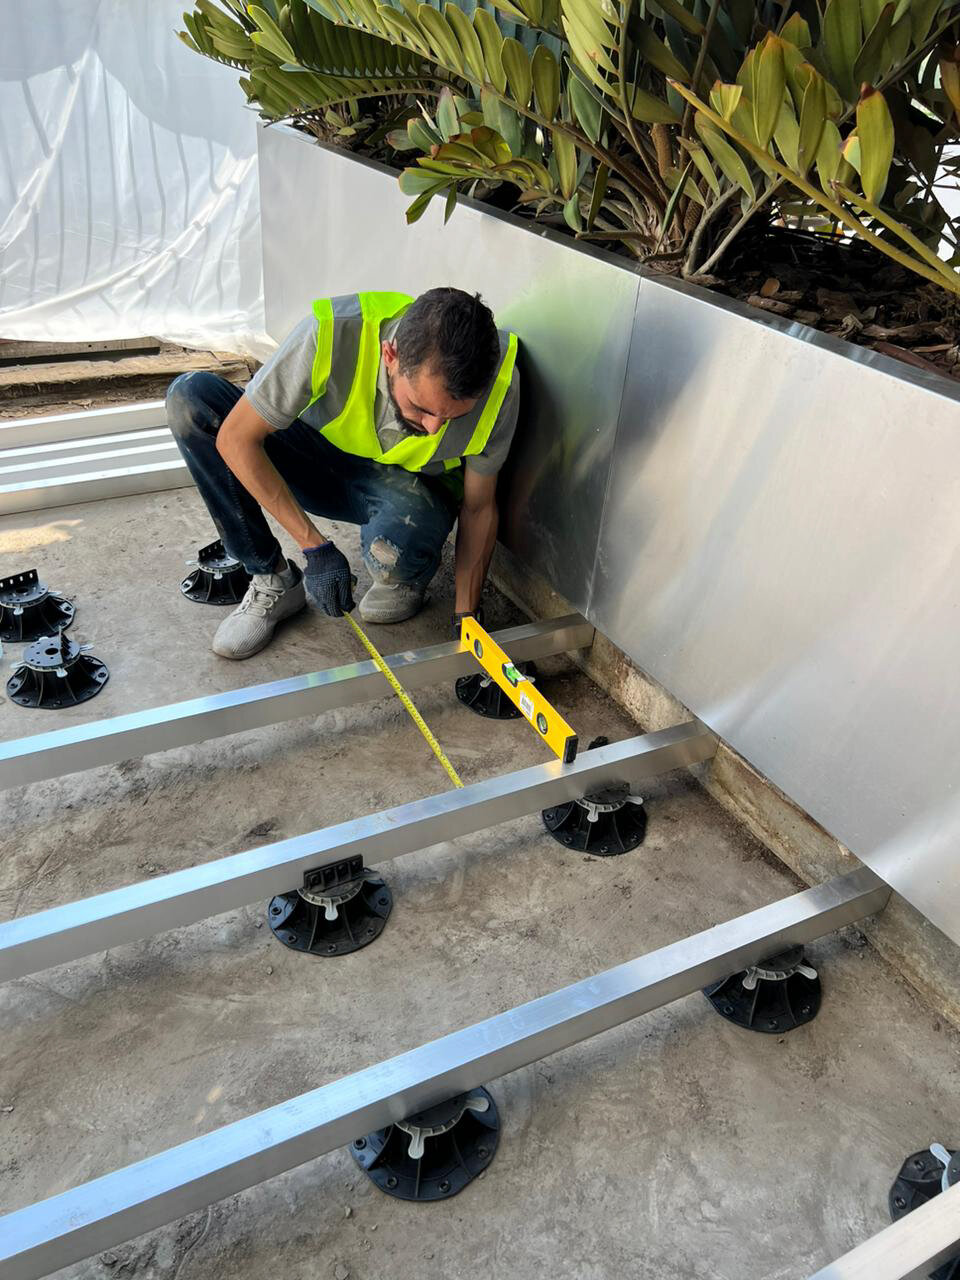
Never assume that the perimeter wall is straight. Measure twice at different points along the gap.
- Calculate the expansion gap: Leave a gap of 3 to 6 mm between the porcelain paver and the wall or structure. This prevents the pavers from rubbing against the building during thermal expansion and allows for proper water drainage.
- Mark the cutting line: Place the paver directly over the adjacent full paver in the grid, align it, and use a carpenter's square and a wax pencil to mark the cutting width, taking into account the spacing between pavers and the clearance at the wall.
- Account for uneven corners: For uneven corners, measure the distance from the last full paver to the wall at both ends of the opening, then transfer both points onto the paver and connect them with a ruler.
Step 3: Cutting 2 cm thick porcelain tiles
Porcelain used on raised deck terraces is typically 20 mm thick. It is dense, durable, and prone to thermal shock if cut too quickly.
- Use plenty of water: Keep the table saw pump clean and ensure free water flow onto the diamond blade. Water prevents thermal stress that causes porcelain to crack during cutting.
- Control the feed rate: Let the blade do the work. Pushing the tile through the blade too quickly will cause chipping or severe spalling along the top edge of the tile.
- Finish cuts carefully: When you reach the last centimeter of the cut, slow the feed rate even further to prevent the corner from breaking off.
- Eased edges: Use a diamond hand pad or an angle grinder with a smoothing pad to blunt the sharp, freshly cut edges before installation.
Step 4: Dry fitting and height adjustment
Once the edge or corner paver has been cut, dry fit it immediately before moving on to the next element.
- Place the paver on the pedestal: Check that the paver sits flush against the adjacent pavers in the field.
- Set the height: Edge pavers often rest on areas of the substrate that slope up or down toward the drainage channels and outlets. Use the pedestal's screw adjustment mechanism to raise or lower the head until the top surface is perfectly level with the surrounding grid.
- Check the support: Check that the paver does not rock. If the cut paver overhangs the edge of the pedestal head, you need to add an additional pedestal under the center or the unsupported corner of the paver.
Common mistakes to avoid
- Pavers overhanging without support: Never allow a porcelain paver to overhang the pedestal head by more than 1 to 2 inches without adding an additional pedestal underneath. Unsupported edges will crack under foot traffic.
- Incorrect trimming of pedestals: Improper modification of pedestal heads can destroy their load-bearing capacity. Use pedestal models designed with modular clips or perimeter plates, instead of cutting critical structural walls of the head.
- Forgetting drainage gaps: Fitting pavers tightly against the wall traps water and debris, blocking the pedestal's drainage path and creating water pooling on the terrace.
Why your choice of pedestal system matters
Tricky edge cuts and corner details are where installation time either stays on schedule or spirals out of control.
We engineer our adjustable pedestal systems specifically for these site conditions. By integrating break-off spacer tabs, slope-correcting heads, and perimeter pedestals directly into our product designs, we remove the need for improvised on-site workarounds. You get a stable, level terrace surface right up to the wall line without sacrificing structural integrity or clean sightlines.
When your pedestals are designed to adapt easily to corners and perimeter walls, working at the edges stops being a struggle and simply becomes another straightforward part of the job.