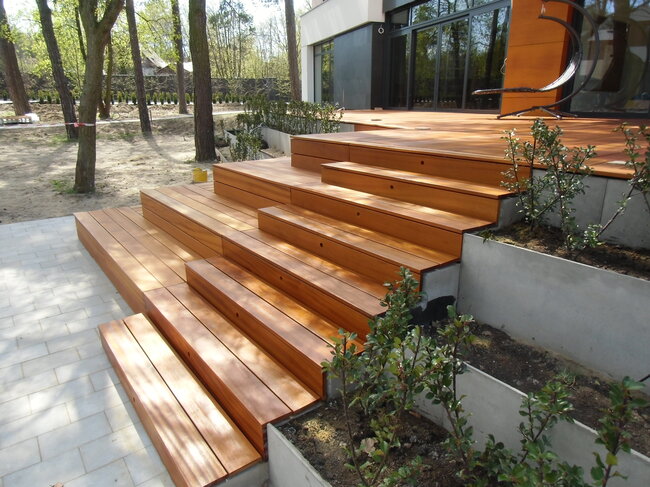
A multi-level garden terrace is a practical alternative. Instead of squeezing the entire surface onto one level, you can create separate terrace zones connected by external steps and gradual transitions. The upper level can be located directly next to the house, while the lower terrace creates space for a garden seating area, dining area or relaxation corner.
Adjustable pedestals make planning and installing such a layout easier. Each section can be raised or lowered to suit the ground conditions, allowing installers to achieve different terrace heights without relying solely on extensive excavation or complex load-bearing structures.
However, multi-level terraces require careful planning. Every level, landing and stair transition must have adequate support, height and load-bearing capacity. Here is how to approach the project from the initial layout to the final installation.
1. Start by planning different terrace levels
Before installing any pedestals, decide how many levels the garden needs and where each of them should be located.
Start by sketching the garden from above. Mark the house, the existing terrace, the garden boundaries, drainage points, and any obstacles such as trees, garden walls, or utility manholes.
Next, divide the planned terrace into functional zones. For example:
- Upper terrace: a dining or lounge area connected to the house.
- Middle terrace: a transition zone with additional seating.
- Lower terrace: an open garden space closer to the lawn.
Then measure the height difference between each section. A laser level or measuring staff can help determine the existing ground elevations and the heights of the finished terrace.
This measurement matters because each level requires its own pedestal height calculation. As a manufacturer of adjustable pedestals, we recommend planning the finished surface levels before selecting products. This helps avoid situations where the selected pedestal range cannot cover the actual height difference.
Skipping this step can lead to unsightly transitions, unnecessary cutting, and sections that do not align properly.
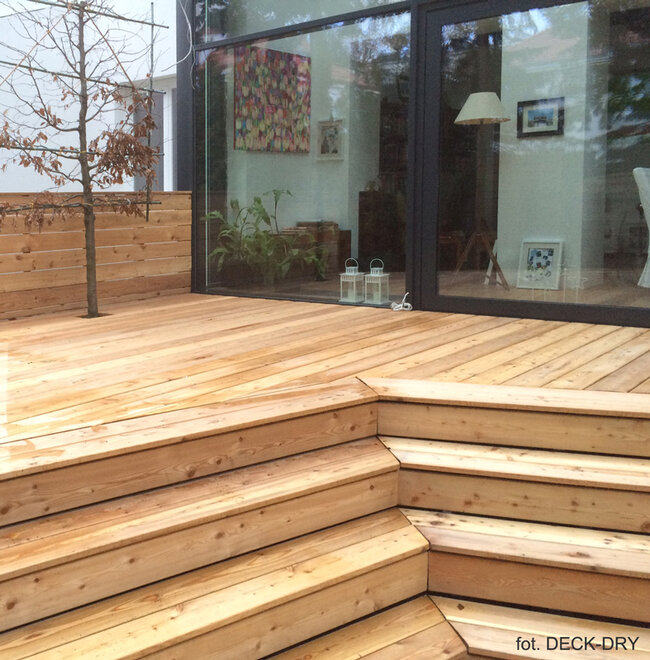
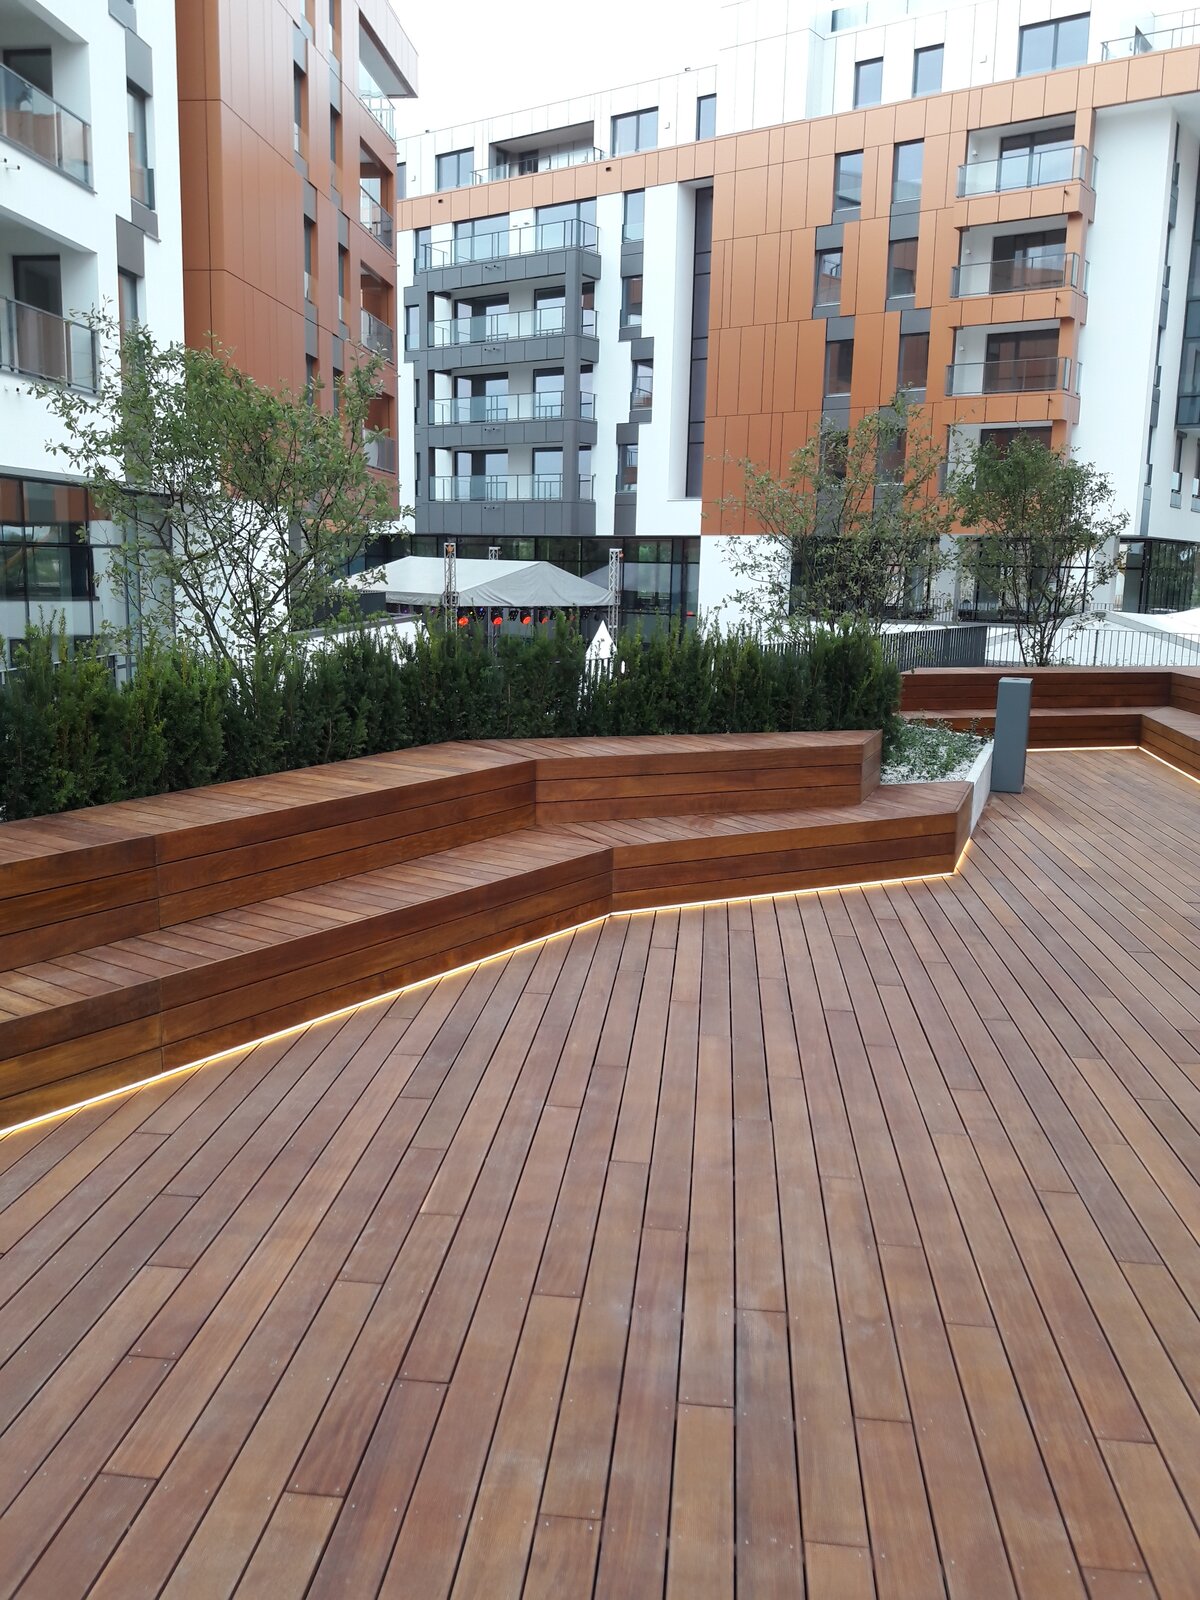
2. Calculate the height difference and choose the appropriate pedestals
Once the layout is ready, calculate the required support height for each terrace section.
For example, imagine a garden with an upper terrace and a lower terrace. The upper finished surface is planned at 300 mm above the existing substrate, while the lower surface is planned at 150 mm.
The difference between the two finished levels is 150 mm.
However, the pedestal height is not automatically equal to the finished terrace height. The thickness of the terrace material, joists, support profiles, and any additional components must also be taken into account.
The simple calculation is:
Required pedestal height = Finished terrace height − Total thickness of the terrace structure.
When choosing pedestals, check three important specifications:
- Height adjustment range: Can the pedestal reach the required minimum and maximum height?
- Load capacity: Can it carry the expected dead load and live loads?
- Extension compatibility: Can extensions be used safely if additional height is needed?
Different terrace sections may require different pedestal models. The lower section may work with standard adjustable pedestals, while the upper section may require an extension configuration.
As a manufacturer of adjustable pedestals, we recommend checking the technical data sheet to determine the exact adjustment range, extension compatibility, and load capacity, rather than relying solely on the product's appearance or nominal height.
Using a pedestal outside the approved configuration may affect stability and long-term performance.
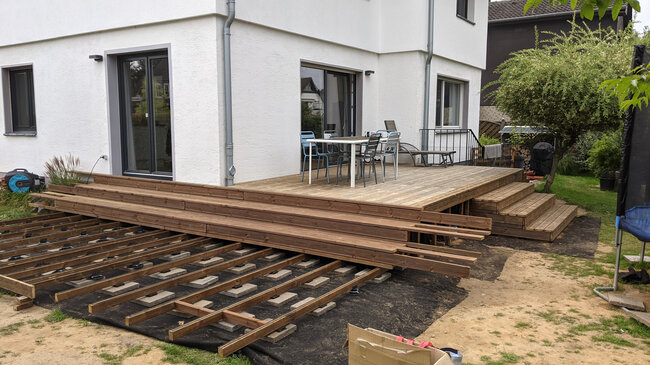
3. Prepare the substrate and level each terrace section
The substrate under each level determines how reliably the support system works.
A concrete terrace, compacted ground, and an existing rooftop terrace each require different preparation methods.
For concrete substrates, check for cracks, unevenness, and drainage conditions. For ground-level installations, the substrate requires proper preparation and a stable foundation designed for the anticipated loads. Simply placing pedestals on soft or unstable ground can cause movement over time.
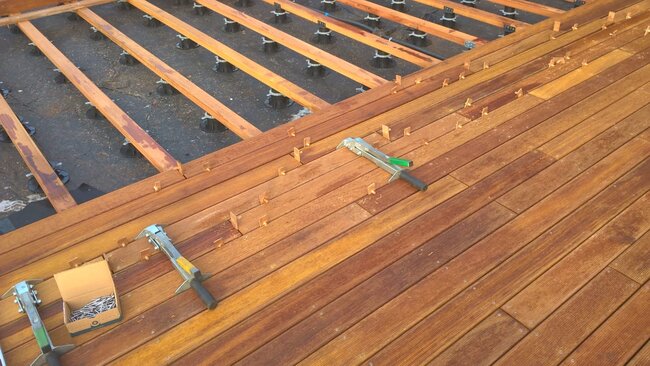
Once the substrate is ready, lay out the pedestals according to the recommended spacing of the terrace system.
Adjust each pedestal to the required height and check the joist or support profile with a laser level or spirit level.
Pay particular attention to the junction of two terrace levels. Both sections must remain independently stable, even if they connect through the same steps or transition zone.
If one section is poorly leveled, the terrace may rock, the joists may twist, and the finished surface may have uneven gaps.
Accessories that facilitate leveling
Several accessories can increase installation accuracy:
- Leveling shims: They help correct minor differences and improve contact where the system permits their use.
- Pedestal extenders: They increase the available support height for raised terrace sections.
- Support grids: They help distribute support in compatible deck board configurations.
- Joist support heads: They ensure proper contact and positioning of wooden or aluminum joists.
Always use accessories approved for the selected pedestal system. Combining incompatible components can affect load transfer and stability.
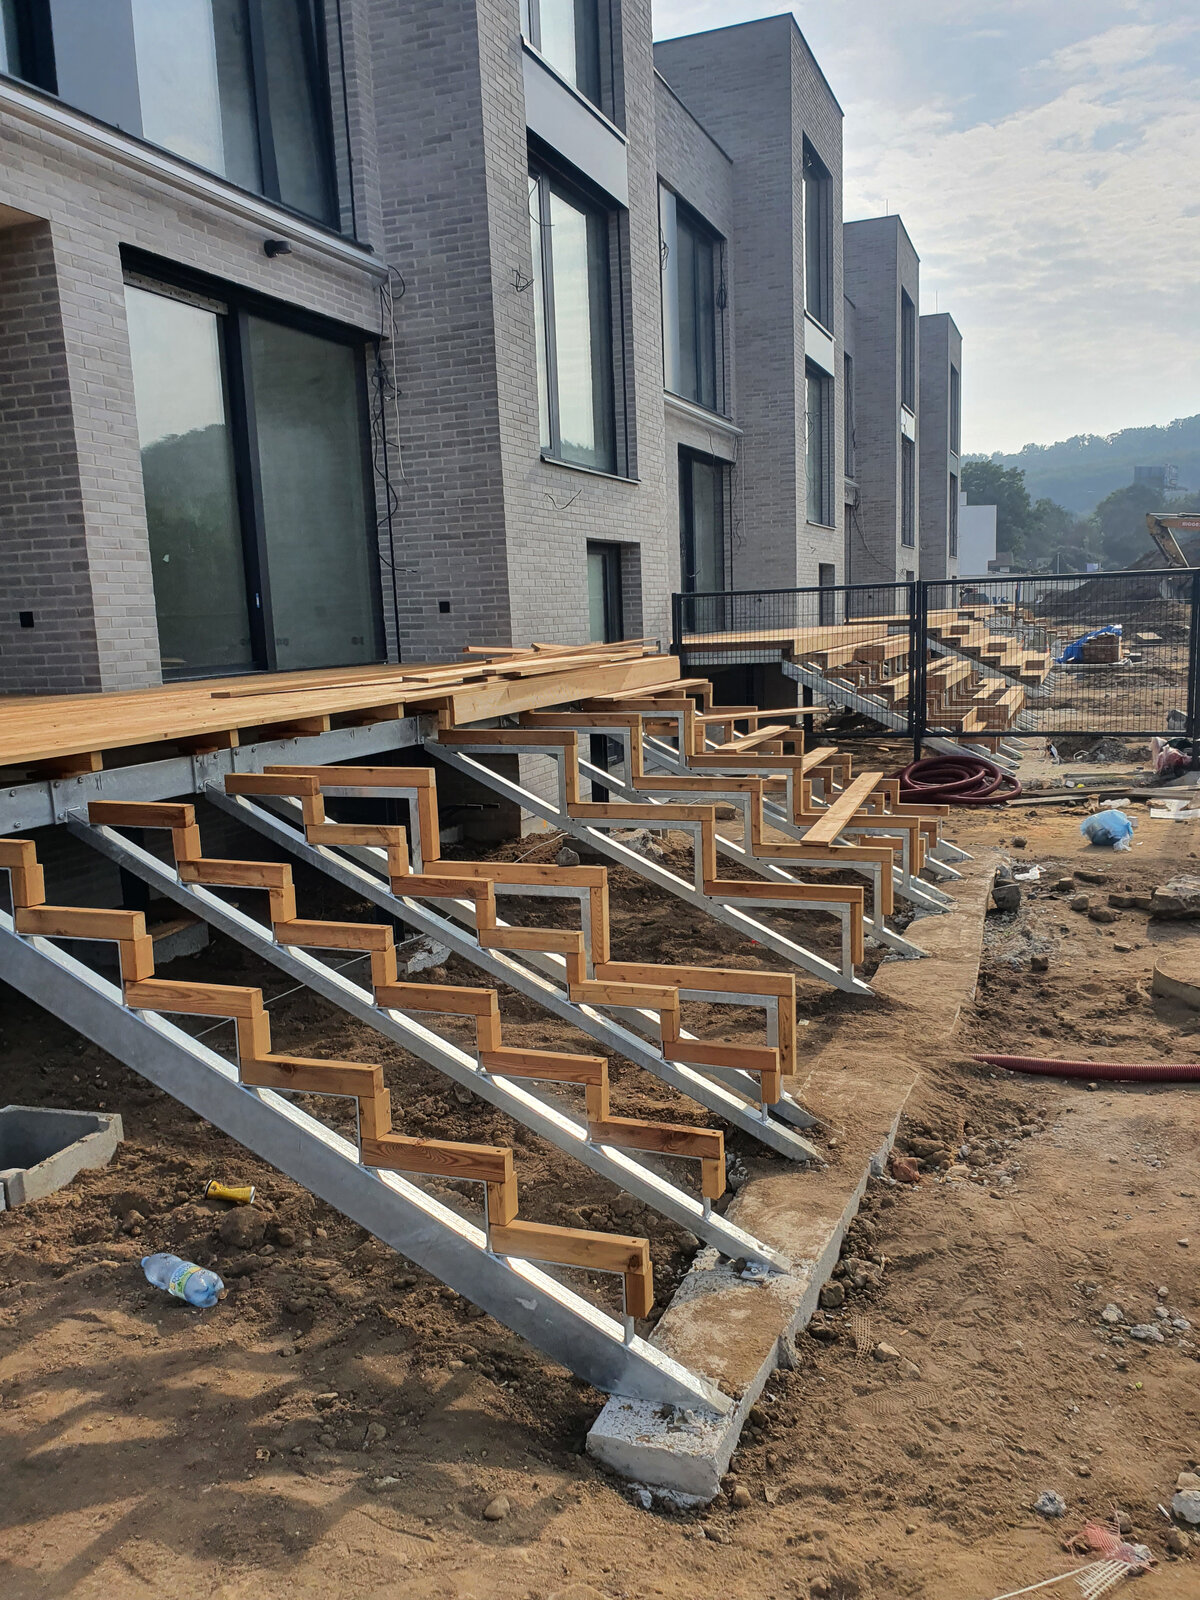
4. Designing outdoor stairs between different levels
Stairs are often the most difficult element of a multi-level deck.
A beautiful upper and lower deck can still feel uncomfortable if the steps connecting them are too steep, too shallow, or uneven.
Start by measuring the total height difference between the two finished deck surfaces. Then divide this height into an appropriate number of steps.
For example, if the height difference is 360 mm and the design calls for three equal steps, each step has a height of 120 mm.
This is only a sample calculation. The actual step heights, tread depth, stair width, and railing requirements must comply with the building regulations applicable to the given project.
The most important rule is consistency. Each step should have the same height, and each tread should provide sufficient depth for comfortable foot support.
An uneven step can become a serious tripping hazard, especially when the stairs are used during wet weather.
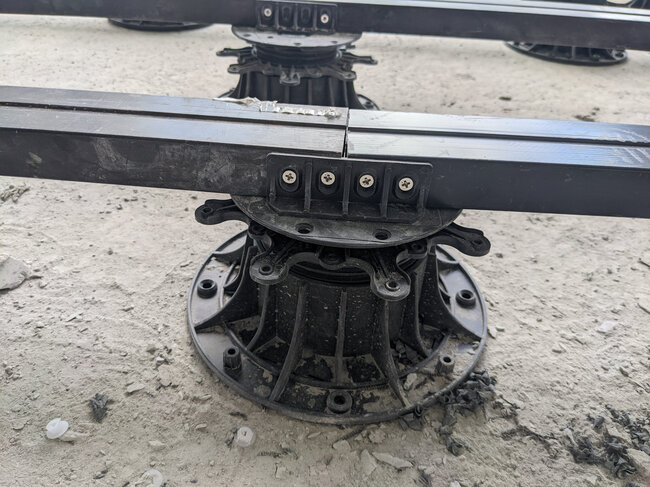
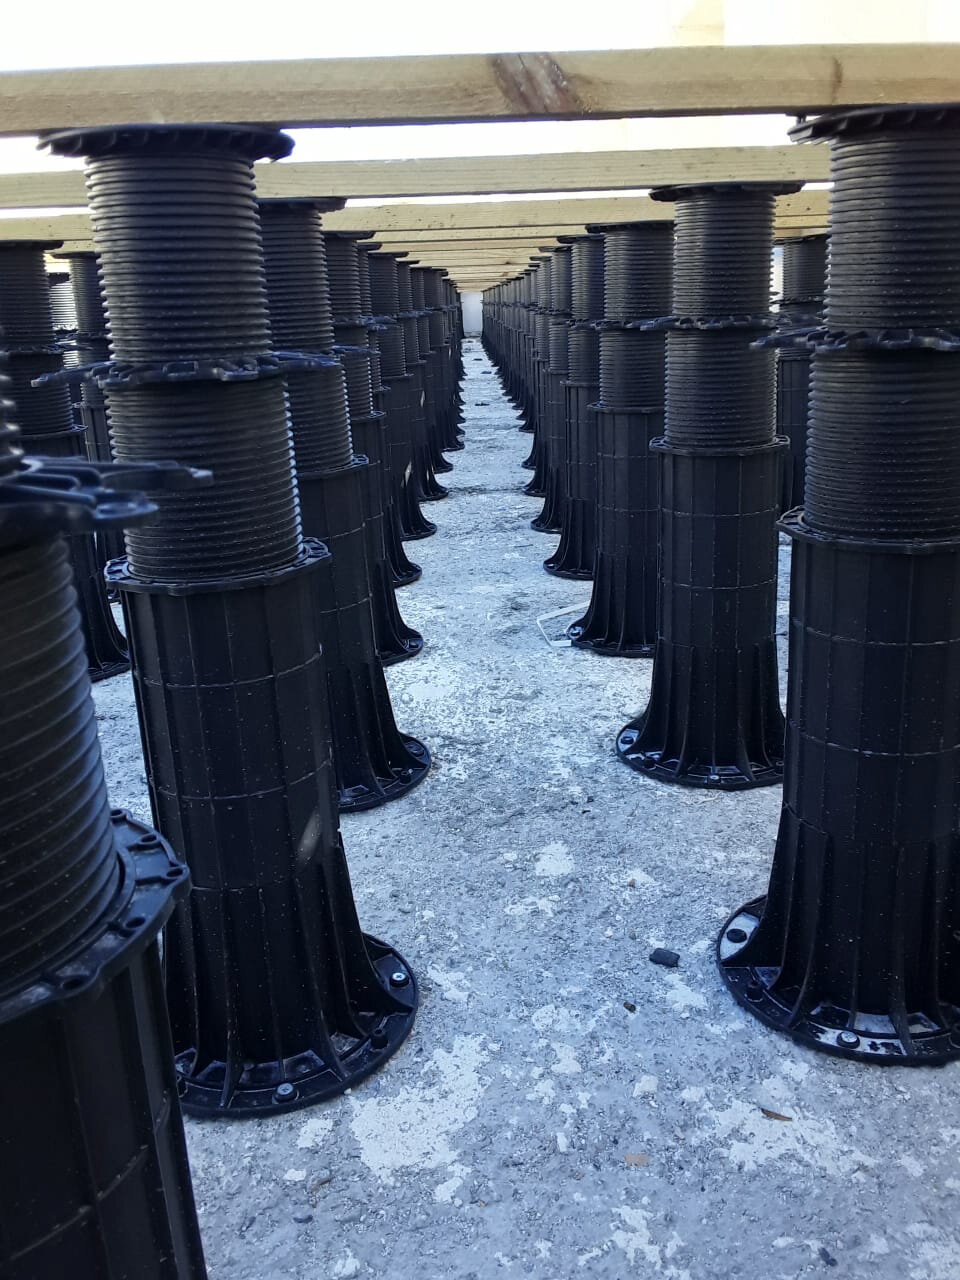
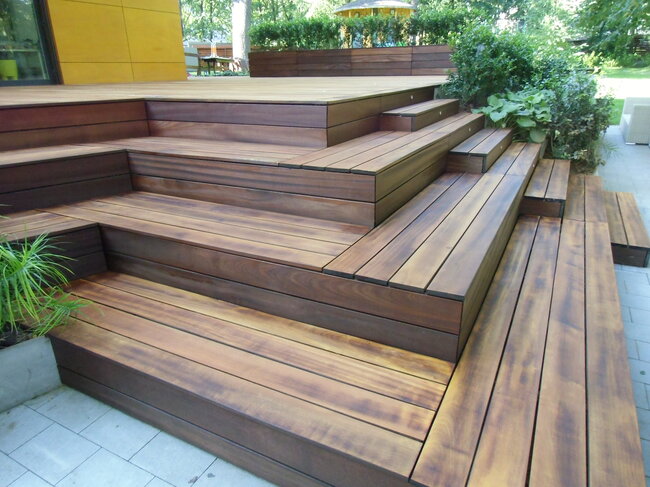
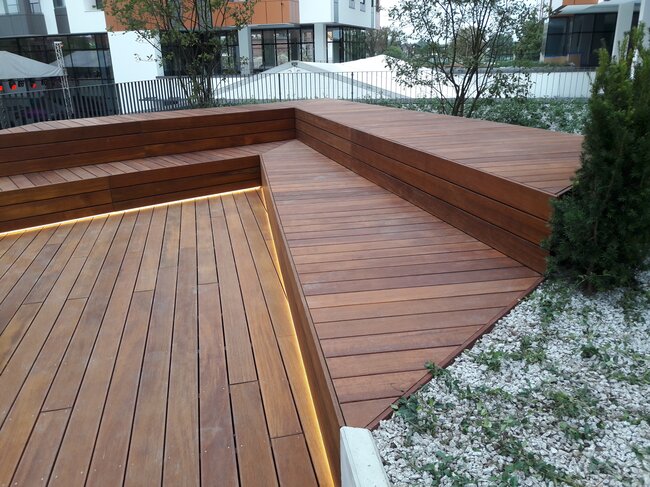
Supporting stair stringers, steps and landings
There are several ways to build external stairs on a terrace, depending on the design and the available space.
Stair stringers form the structural frame that supports the steps. They should be properly designed, anchored and supported at the required points.
Steps are the horizontal surfaces that people walk on. Their support must be sufficient to prevent shifting, bending or excessive deflection.
Landings provide a flat surface at the top, bottom or intermediate points of the staircase. On raised deck terraces, a landing can be designed as a separate supported platform using an appropriate system of pedestals and substructure.
Adjustable pedestals can support compatible landing structures and some horizontal frame arrangements. However, they should not automatically be treated as a replacement for structural stair supports.
For example, a wooden stair stringer may require dedicated structural connections to the terrace frame or foundation. The pedestal system can support an adjacent landing, but the stairs themselves must have a proper, designed load transfer path.
As a manufacturer of adjustable pedestals, we recommend verifying the intended use of each pedestal before specifying it for stair construction.
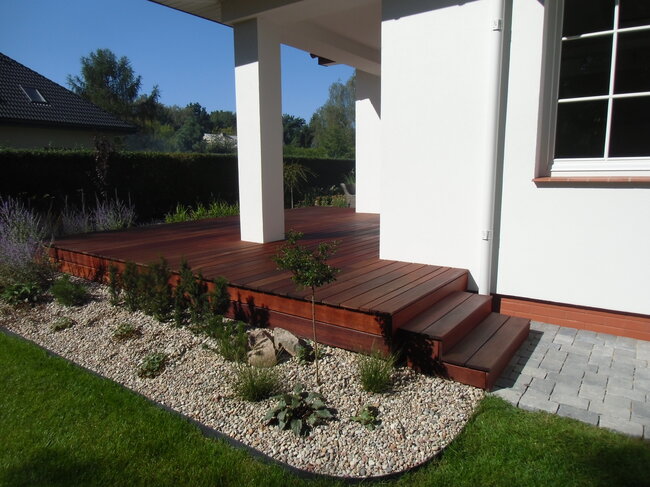
5. Create clean step transitions between terrace levels
Not every change in level requires a full staircase.
For smaller height differences, a single step or a short transition platform may be enough to connect two terrace zones.
The key is to make the transition look intentional. Avoid leaving an exposed gap between the upper and lower terrace frame or creating a narrow step that is difficult to use.
Consider the following details:
- Keep the finished step height consistent with the rest of the stairs.
- Use appropriate edge trim to protect exposed edges of the deck boards.
- Install transition strips where different surface materials meet.
- Make sure the substructure beneath the transition is properly supported.
- Leave adequate drainage gaps without creating holes where debris could accumulate or that could become a trip hazard.
Edge trims provide a cleaner finish and protect exposed edges, while transition strips help create an aesthetic connection between materials or surface levels.
A common mistake is focusing on the visible deck boards while neglecting the structure underneath. A step may look finished from above but still move when someone loads its outer edge.
6. Plan drainage and water runoff between levels
Water management becomes particularly important when a garden terrace has several levels.
Rainwater falling on the upper terrace can flow toward the lower section. If the design does not account for this, water can accumulate around stairs, rest areas, or the support structure.
Before installation, determine the natural direction of water flow and check the drainage capacity of the existing substrate.
Raised deck terrace systems can allow water to flow through the gaps between boards and move beneath the terrace. However, the support surface still requires an appropriate drainage solution.
Check whether:
- Water can drain away from the house and foundations.
- Drainage outlets remain accessible.
- Pedestals do not block existing drainage points.
- The lower terrace does not become a collection point for runoff.
- There is sufficient ventilation under wooden or composite boards.
A poorly planned transition can create a low point where water accumulates. Over time, standing water can affect the substrate, encourage the accumulation of debris, and create slippery conditions around the stairs.
7. Check loads, stability and local building requirements
Every level must be designed for the loads it will carry.
A dining area with garden furniture has different requirements than a small decorative garden platform. Stairs are also subject to different load conditions because people concentrate their weight on individual steps.
The following points should be taken into account:
- The weight of the decking board material and the supporting frame.
- Anticipated live loads and loads from furniture.
- Concentrated loads around stair landings.
- Wind exposure and lateral stability.
- The load-bearing capacity of the substrate.
- Pedestal height and permissible load values.
Do not assume that a pedestal with a high compressive strength rating automatically ensures the safety of the entire terrace or stairs. Joists, connections, foundations and the load-bearing substrate must also be suitable.
Local building regulations are particularly important for stairs. Requirements for maximum step height, minimum step depth, handrails, protective railings and stair width vary by jurisdiction.
Climate also matters. Freeze-thaw conditions, heavy rainfall, intense sunlight and temperature fluctuations can influence material selection and installation details.
See also: Height coupler STANDARD h=100 mm
As a manufacturer of adjustable pedestals, we recommend reviewing the product technical documentation alongside the project drawings. Before ordering materials, confirm that the selected configuration of pedestals and accessories matches the intended application.
8. When is a single-level deck the better choice?
Multi-level decks can make a sloping garden more functional, but they are not always necessary.
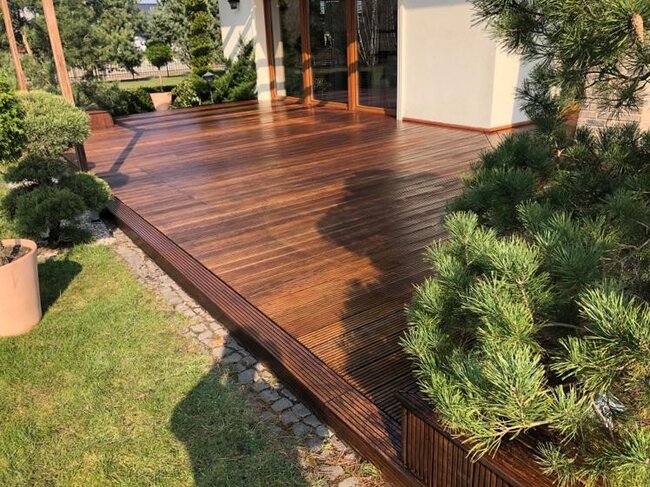
If the existing substrate is relatively flat and the outdoor space has no significant height differences, a single-level deck on standard adjustable pedestals is often a simpler and more cost-effective solution.
It requires fewer transitions, a less complicated supporting structure, and does not require additional stair construction.
Multi-level designs make more sense when the plot has noticeable height differences, when separate outdoor zones serve different purposes, or when the landscape design uses distinct platforms.
The right choice depends on the slope, ground conditions, available space, climate, budget, and local building requirements.
Adding extra levels brings little benefit if they hinder access to the garden or its maintenance.
Summary: Build every level with the right support
Creating a multi-level garden deck is more than just setting different pedestal heights. The entire structure must work together, from the substrate and joists to the stair stringers, steps, landings, and finishing accessories.
Adjustable pedestals give installers flexibility when working on uneven ground and with different finished deck heights. They also make it possible to create independently leveled platforms without forcing the entire garden into a single level.
For a manufacturer of adjustable pedestals, the most important starting point is understanding the project requirements before selecting a support system. Pedestal height, extension compatibility, load capacity, and accessory selection all affect the final result.
Before purchasing materials, measure the height difference between each planned deck level and calculate the height of each stair step. Then compare these measurements with the available adjustment ranges of the pedestals and confirm that the proposed stair structure has adequate independent support.
Establishing these details correctly at the outset makes installation easier and helps create a garden deck that is comfortable, looks well planned, and remains stable for years.