Not quite.
Pedestal placement determines how well the finished surface handles foot traffic, furniture, weather, and everyday use. Space the pedestals too far apart, and the pavers may flex or rock. Place them in the wrong spot, and the paver corners may not have full support. Set the wrong height adjustment, and you may end up with uneven joints or a surface that doesn't drain properly.
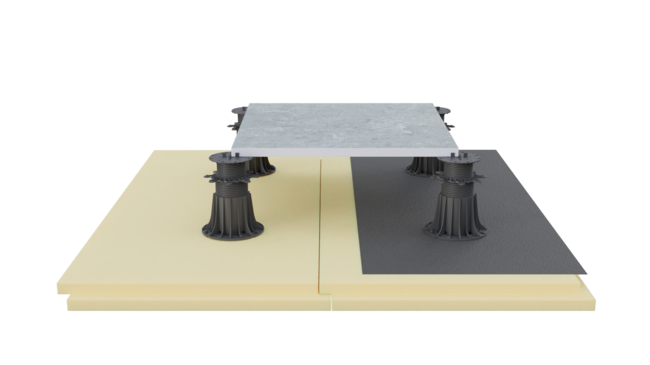
For a standard 24×24 inch paver, the starting point is simple: one pedestal in each corner, with a pedestal grid matched to the paver joints. However, the exact spacing still depends on the paver construction, thickness, pedestal system, finished height, and load requirements.
Here's how we approach this from a pedestal manufacturer's point of view.
Start with the tile size
Most outdoor porcelain or ceramic tiles sized 24×24 inches are actually produced at approximately 600×600 mm. Some products are slightly smaller, so always use the actual dimensions provided by the manufacturer when laying out the grid.
For a 600×600 mm tile, the basic pedestal layout looks as follows:
- One pedestal under each corner of the tile
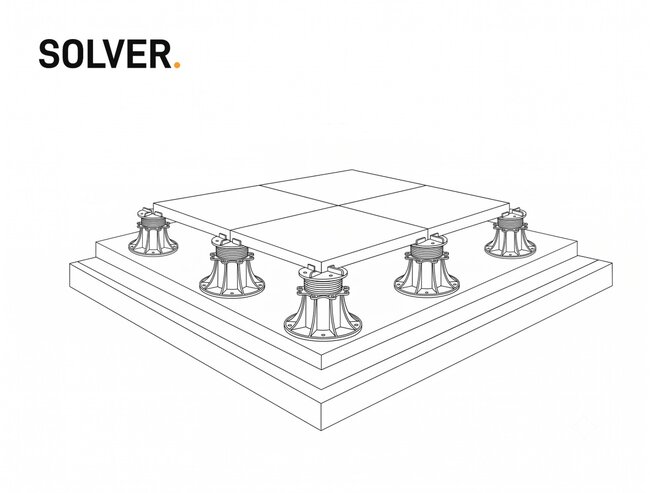
- Adjacent tiles share the same corner pedestal
- Pedestal centers generally follow the tile joints
- The resulting grid has spacing of approximately 600 mm, depending on the actual tile and joint width
This gives each tile support at four points.
Some pedestal systems specify a working grid closer to 500–600 mm, so do not assume that every pedestal product can use the same spacing. Check the pedestal manufacturer's spacing and load tables for the specific system.
A simple example
If you are installing four 24×24 inch tiles in a square:
The center pedestal supports the corners of all four tiles. The outer pedestals support the corners along the perimeter.
This shared support arrangement is one of the main advantages of a pedestal system. You do not need four completely separate supports for each tile.
Why pedestal spacing matters
A pedestal supports a specific point of the paver. The paver itself transfers the load across the distances between these support points.
If the distance is greater than the span approved by the paver manufacturer, the paver may deflect excessively.
This can lead to:
- Rocking or movement underfoot
- Cracking or damage to pavers
- Uneven paver corners
- Excessive stress on paver edges
- Unstable furniture
- Poor joint alignment
The problem becomes more important with large-format porcelain, because a 20 mm thick slab may look very durable, but it still has specific support requirements. For example, some 600×600 mm porcelain pavers are around 20 mm thick.
Both the paver manufacturer and the pedestal manufacturer should be involved in determining the spacing.
A pedestal may have a high compressive load rating, but that does not automatically mean the distance between supports can be increased. The paver itself also has a maximum allowable span and load conditions.
Basic pedestal layout rule 24×24
For a typical installation of a 24×24 inch porcelain paver, use this as a starting point for layout:
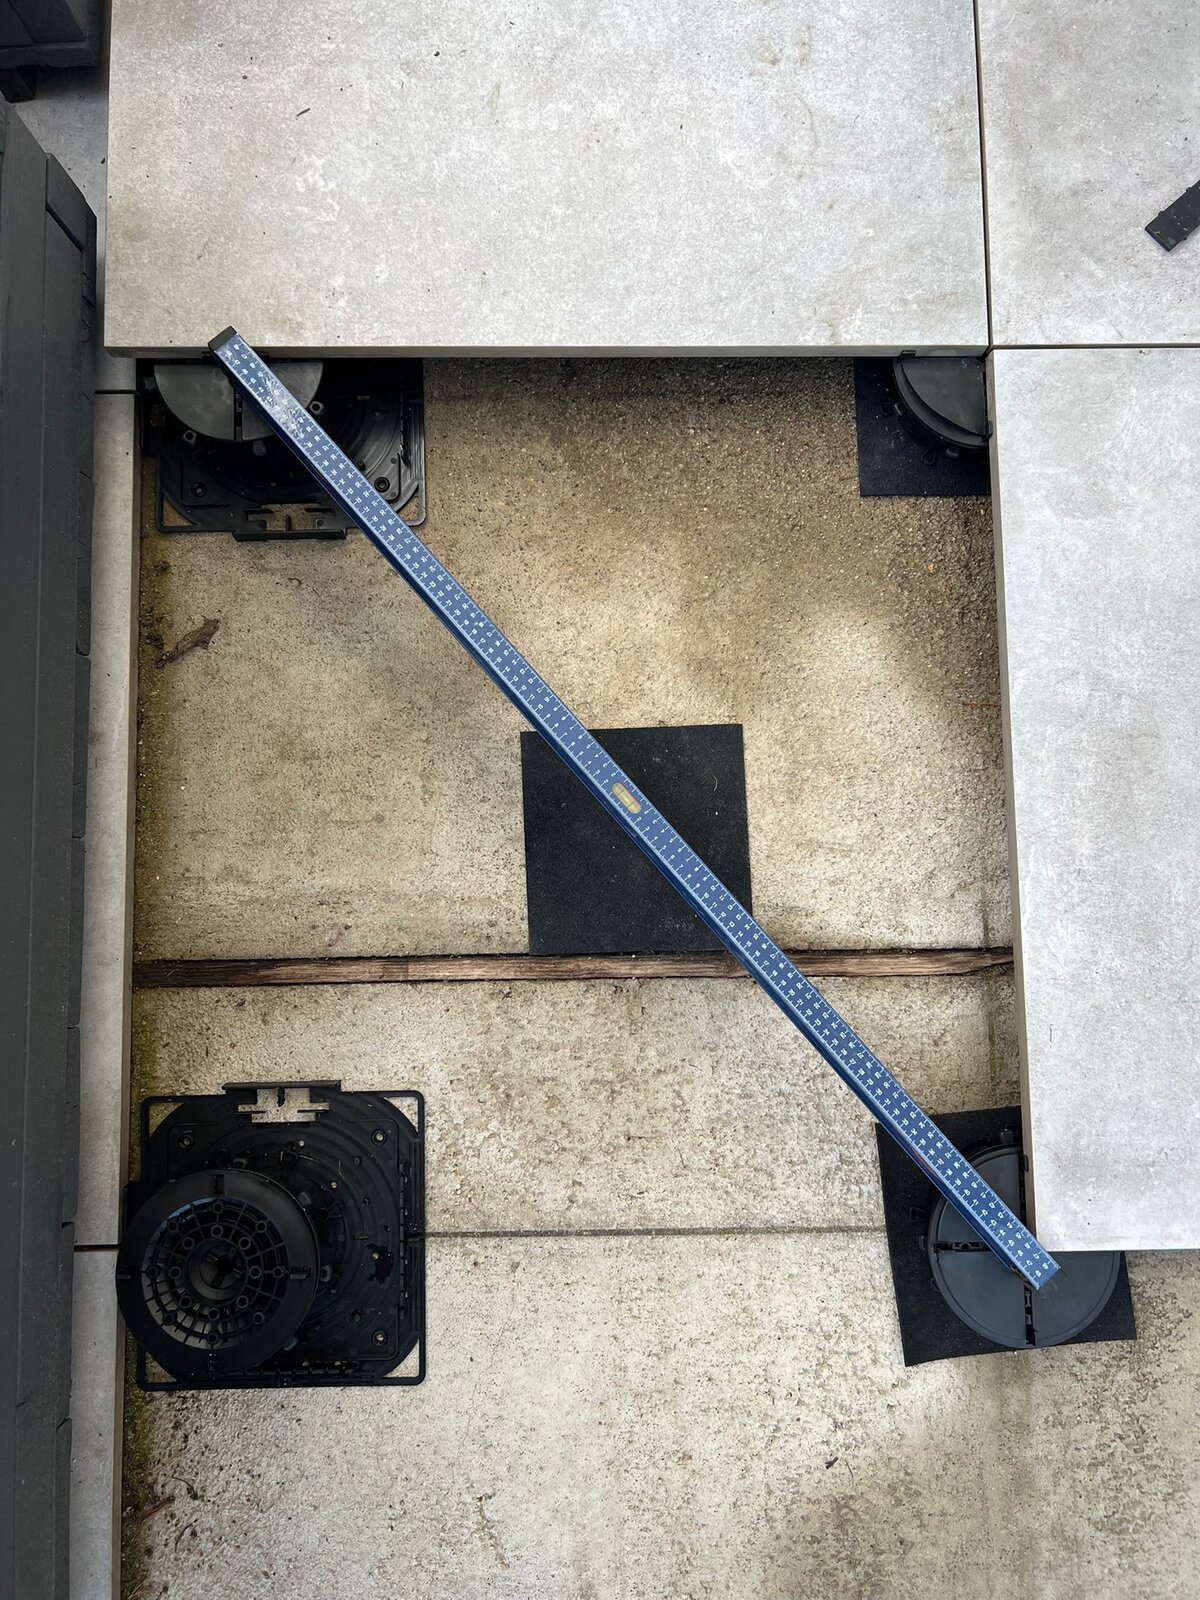
One adjustable pedestal at each corner of the paver.
For 600×600 mm pavers, this creates a regular grid with approximately 600 mm spacing between pedestal centers.
Some systems use a slightly denser grid, for example 500–600 mm, depending on the pedestal head, paver specifications, and application.
For example, if the project involves higher loads, denser support spacing may be required. Natural stone, thicker concrete pavers, commercial applications, rooftop installations, and areas with unusual loads should be verified based on the manufacturer's engineering data, not on the standard spacing rule.
Use the pedestal head to set the gap
The pedestal head does more than just support the tile.
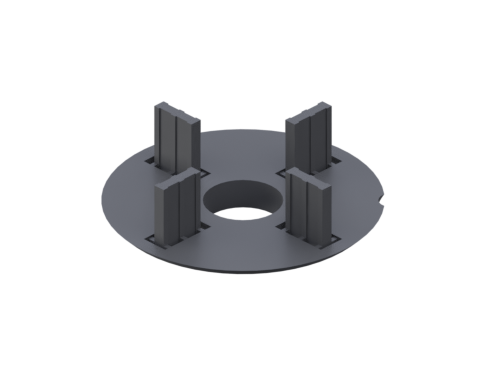
Many adjustable pedestal systems use spacer tabs or integrated spacers to establish a consistent gap between tiles. Typical gap widths are 2 mm, 3 mm, 4 mm, and 5 mm, depending on the system.
This is much easier than trying to measure each gap by hand.
For a typical installation:
- Select the appropriate pedestal head and spacer width.
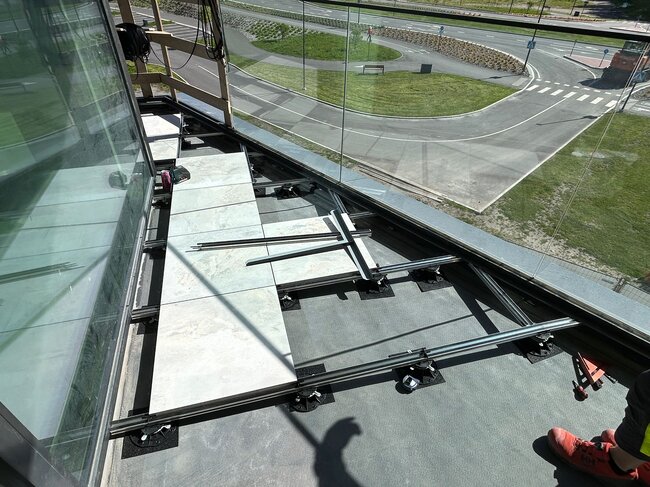
- Lay out the pedestals on the planned grid.
- Adjust each pedestal to the required height.
- Check the entire grid with a laser or a long spirit level.
- Place the tiles against the spacer tabs.
- Check that each tile rests fully on its supports.
Spacer tabs also help keep the pedestal centered under the tile intersection.
Adjustable height makes it easier to deal with uneven substrates
Outdoor pavers are rarely perfect.
You may have an existing concrete terrace with depressions, a roof membrane with a drainage slope, or a slab that changes height across the installation surface.
And this is exactly where adjustable pedestals come in handy.
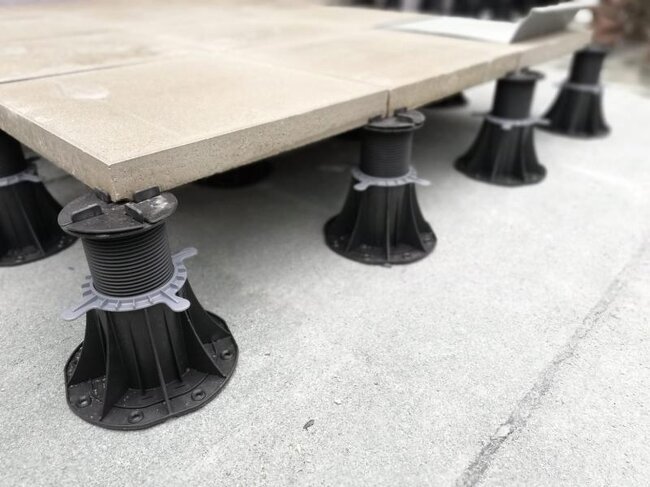
Instead of trying to perfectly level the substrate, you adjust the pedestal height to achieve the target plane.
Depending on the pedestal design, adjustment can be done through:
- Threaded height adjustment
- Locking rings
- Extension elements
- Self-leveling heads
- Slope correction bases or shims
Some systems are designed to compensate for substrate slopes while maintaining a level paver surface. Others are designed to follow a designed drainage slope. The available adjustment range and slope correction capability are specific to each product, so use the manufacturer's installation instructions rather than assuming every pedestal works the same way.
Don't ignore load capacity
This is one of the most common mistakes in pedestal installations.
Pedestal load capacity is not the only number that matters. Spacing, pedestal height, paver thickness, paver strength, and anticipated load all work together.
For example, a pedestal with a given compressive load capacity does not mean that a paver can safely span any distance between supports.
As pedestal height increases, requirements may also change. Some tested pedestal systems publish different allowable loads depending on height and model.
Before installation, check:
- Pedestal model and series
- Minimum and maximum adjustment height
- Allowable load at the actual installation height
- Recommended pedestal spacing
- Paver thickness and manufacturer's support requirements
- Required safety or support accessories
- Lateral bracing requirements for taller installations
For commercial, rooftop, or high-traffic applications, use the manufacturer's engineering documentation and project requirements rather than relying on a general rule of thumb.
Steps for installing 24×24 pavers
Once the spacing is determined, the installation itself is quite simple.
1. Check the substrate
Make sure that the slab, roof, waterproofing layer, or other load-bearing surface is suitable for the pedestal system.
Remove loose debris and determine the existing direction of water drainage.
If you are working on a waterproofing membrane, apply the protection method specified by the membrane and pedestal manufacturers. Rubber protective pads or compatible protective layers may be required.
2. Establish a reference line
Start from a fixed edge or reference point.
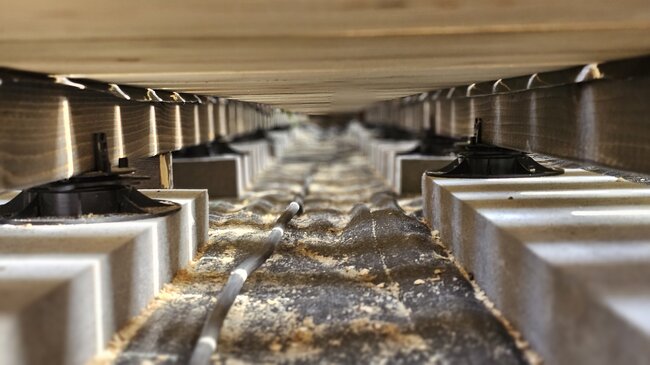
Mark lines with chalk or use a laser to establish the paver grid. The goal is to ensure that the centers of the pedestals align with the paver joints.
Do not start randomly in the middle of the area and do not try to fit the perimeter only later.
3. Set the pedestals
Place the adjustable pedestals at the intersections of the grid.
For 24×24 tiles, the standard layout is one pedestal in each corner.
Around the perimeter, it may be necessary to modify or remove the spacer tabs so that the tile can finish correctly at the wall or edging. Some systems offer special perimeter clips for this purpose.
4. Set the height
Adjust the pedestals until their top surfaces form the required finished plane.
A laser level significantly speeds this up on larger projects.
Do not rely on a single paver when setting the height for the entire installation. First set up the grid of pedestals, then fine-tune them as you work across the entire surface.
5. Install the pavers
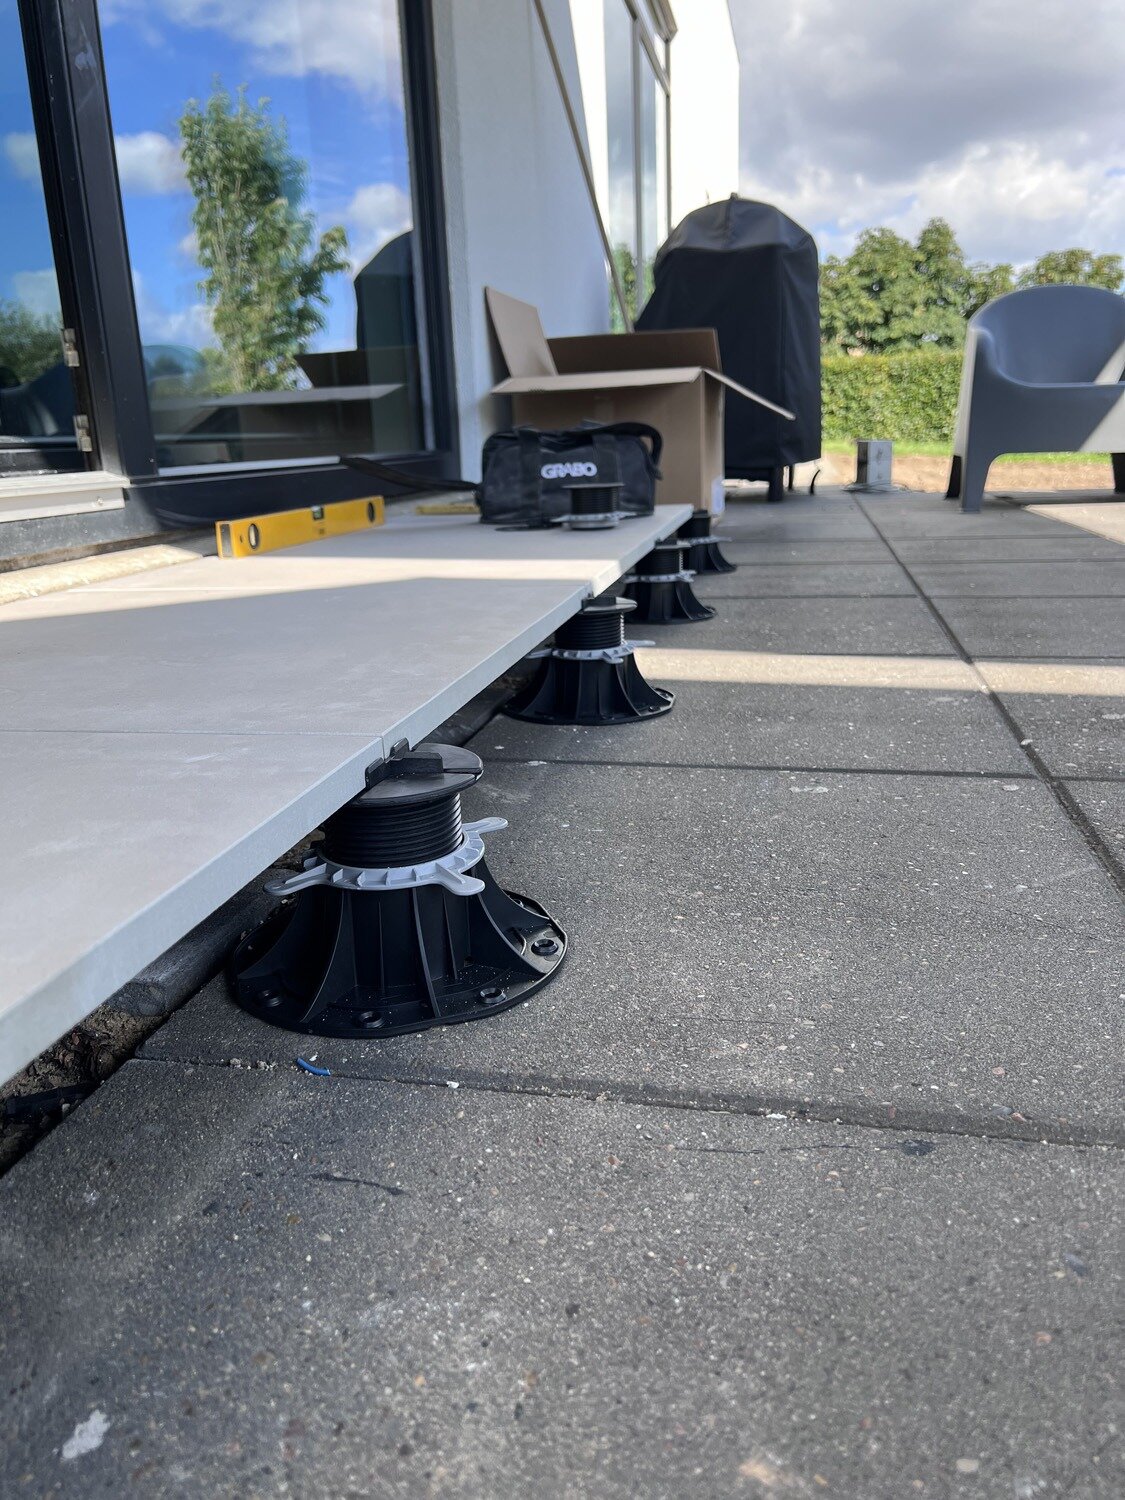
Carefully lower each 24×24 paver onto the pedestal heads.
Make sure all four corners are properly supported.
Do not force the paver to seat if one corner is raised. Lift the paver, adjust the pedestal, and install it again.
6. Check for movement
Walk across the finished surface and check that the pavers do not wobble.
A paver that moves usually means something underneath it needs adjustment. Check the pedestal position, height, head seating, shim placement, and paver support before moving on.
How many pedestals do you need?
For a standard 600×600 mm layout, you can estimate approximately 2.8 to 3 pedestals per square meter, because adjacent pavers share corner pedestals.
But use this only for preliminary material planning.
The actual quantity may increase due to:
- Perimeter conditions
- Irregular areas
- Cuts around drains or columns
- Different paver layouts
- Smaller spacing required by the manufacturer
- Additional pedestals required by the paver specification
- Edge restraint systems
For the final material list, lay out the actual grid instead of multiplying the floor area by a general number.

Manufacturer's spacing chart should take precedence
There is no universal pedestal spacing that will work for every 24×24 paver.
This is important.
Two pedestal systems can look nearly identical but have different head designs, load capacities, height ranges, materials, and tested configurations. Similarly, two 24×24 pavers can have different thicknesses and structural properties.
A correct installation therefore starts with three sets of information:
- The paver manufacturer's support requirements
- The pedestal manufacturer's spacing and load tables
- Project-specific load and substrate conditions
When these three elements align, you have a solid basis for your layout.
Key Takeaways
For most standard 24×24 inch outdoor porcelain tiles, start by planning a pedestal at each tile corner and aligning the supports with the joints between tiles. For 600×600 mm tiles, this typically creates a grid with spacing of around 600 mm, although some systems require tighter spacing in the 500–600 mm range.
Then verify the actual tile, pedestal series, height, load capacity, and installation requirements before approving the layout.
This is the approach we recommend as a pedestal manufacturer: design the grid based on the entire system, not just the tile size. A well-executed pedestal installation should provide consistent joints, stable support, proper drainage, and a finished surface that remains level long after the last tile is laid.
[[LINK:701]