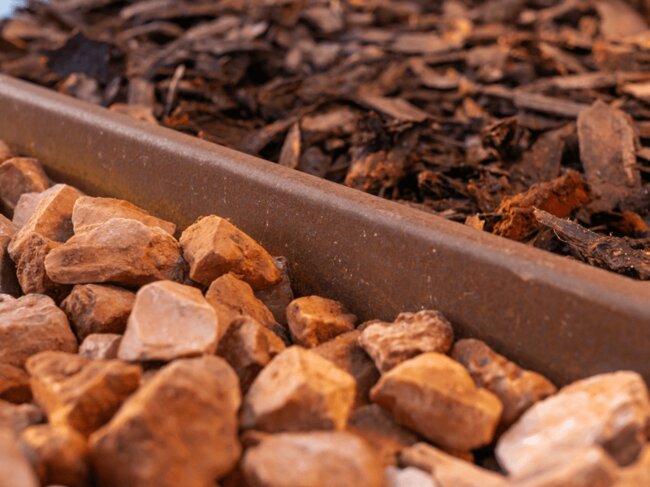
Without a solid barrier between surfaces, a garden tends to merge into one messy compromise. Loose stone migrates onto the lawn, grass encroaches on bare soil, and mulch washes down over the paving slabs after a heavy rain.
Garden edging solves this problem by creating a physical barrier between two distinct zones. However, choosing the right product requires understanding how different materials cope with root pressure, soil movement, and changes in ground level.
What garden edging actually does
In the simplest terms, edging serves two functions: containment and separation.
- Containment keeps loose materials such as pea gravel, decorative aggregates, river rock and wood chips from spreading into areas where they damage mower blades or look unsightly.
- Separation prevents invasive rhizomatous grasses such as kikuyu, Bermuda grass and bentgrass from creeping into flower beds and vegetable plots.
When edging fails, it is usually because the barrier was either too shallow or improperly supported. A vertical barrier must reach deep enough to block underground roots while rising high enough above ground level to hold the chosen surface material.
Main types of garden edging
No single edging material suits every ground condition. Soil texture, drainage, curve radius and substrate stability dictate what will work best.
1. Steel (Corten and low-carbon)
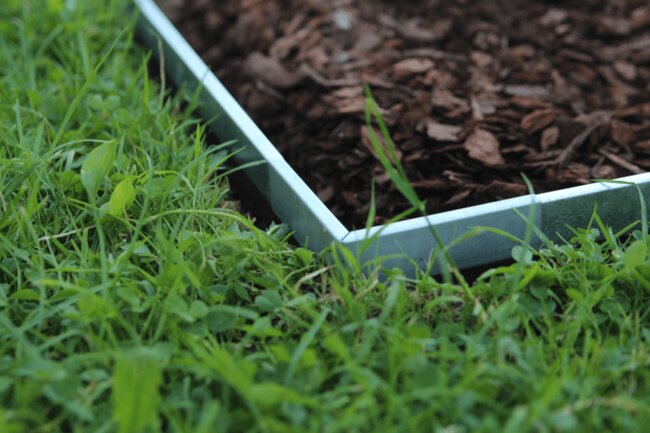
Steel edging is popular in modern landscape designs because it creates crisp, ultra-thin boundary lines. Corten steel develops a protective, rusty patina over the course of a few months, while galvanized or powder-coated low-carbon steel maintains a clean, dark profile.
- Where it works best: Bold geometric patterns, gentle curves, and boundaries between lawns and gravel paths where a minimal visible edge is needed.
- Where it fails: Very stony ground makes it difficult to drive in the fixing pegs. In coastal zones with high salinity, unsealed low-carbon steel rusts faster than anticipated.
2. Aluminum
Aluminum offers the flexibility of steel without the risk of corrosion. It is lightweight, does not rust in damp ground, and bends smoothly around tight, organic curves.
- Where it works best: Complex, curved flower beds, damp or waterlogged zones, and places where ease of processing during installation matters.
- Where it fails: Aluminum does not have the rigidity of thick-walled steel. If vehicle wheels or heavy ride-on mowers regularly drive over it, it can become permanently deformed.
3. Wood (Boards, Joists and Pegs)
Joists made of hardwood or treated softwood provide a rustic, solid look with a strong visual presence. They offer great depth and at the same time act as low retainers holding back the soil.
- Where it works best: Straight sections, raised planting zones, vegetable beds and cottage-style gardens.
- Where it fails: Bending heavy timber along curves is difficult and labor-intensive. Rot from contact with the ground will sooner or later destroy any wooden edge, even of treated pine, usually starting at the joints and underground fixing pegs within seven to ten years.
4. Concrete and natural stone slabs
Poured concrete, prefabricated edging or mortared stone setts provide durable, immovable borders.
- Where it works best: Durable borders that also serve as mowing strips, allowing the mower wheels to roll over the slab surface without cutting the adjacent grass.
- Where it fails: Labour-intensive to install correctly. If laid directly on unstable ground without an aggregate sub-base or cement bedding, winter frost heave and wet ground cause individual elements to tilt and shift apart over time.
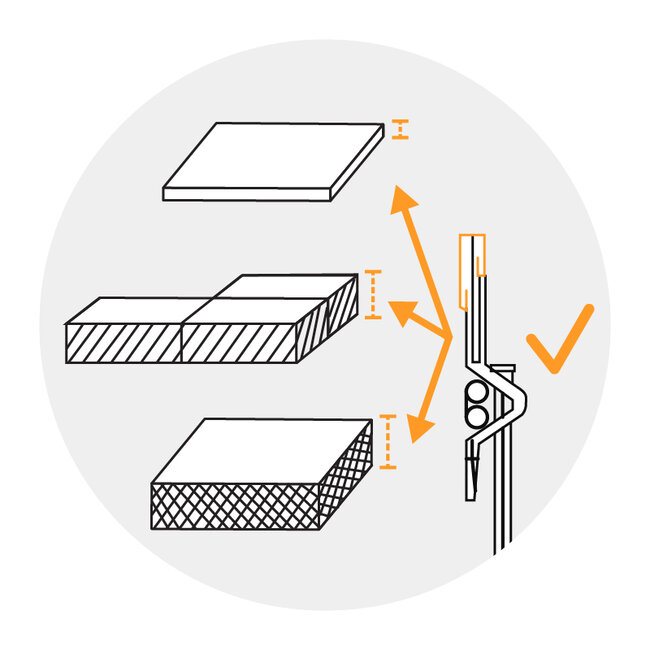
5. Flexible plastic and composite edging
Durable strips made from recycled plastic or composite offer a budget-friendly, highly flexible option that is mostly level with the ground.
- Where it works best: Shallow, flat beds with low foot traffic, organic curved shapes, and secondary woodland paths where a formal metal line would look out of place.
- Where it fails: Cheap, thin rolls of plastic easily warp under warm sunlight or get cut through by string trimmers. If frost pushes the soil up, the fixing pegs often work their way out of the ground, leaving wavy ridges along the lawn line.
Understanding the real benefits (and their limits)
A clean visual definition provides immediate architectural separation of soft planting from hard surfacing. This benefit depends heavily on setting the correct depth during installation. Leaving the edge protruding more than 50 mm above looks clumsy and creates a trip hazard.
Easier maintenance allows mower wheels to run along the boundary without scalping the lawn or flinging stones into the air. Achieving this requires setting the top of the edging level with, or just slightly above, the lawn's root zone.
Root exclusion stops creeping lawn runners from colonising mulch beds and borders. How well this works depends entirely on the depth of the underground barrier. Shallow 50 mm strips will not stop deep rhizomes from tunnelling straight underneath.
Material retention keeps gravel, pebbles and bark mulch within designated paths and zones. For this to work, the surface of the loose aggregate must sit at least 15 to 20 mm below the top edge of the edging profile.
For light garden borders in sandy clay soil with no foot traffic, a neat spade-cut trench (the classic "Victorian edge") refreshed twice a year works well without spending money on materials. Manufactured edging earns its keep where loose aggregate meets lawn, or where a durable structure is needed to hold the line through seasonal weather cycles.
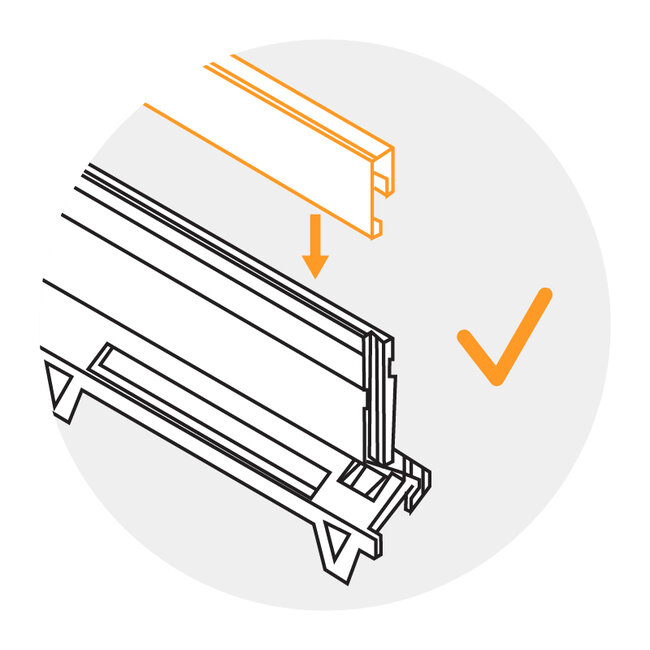
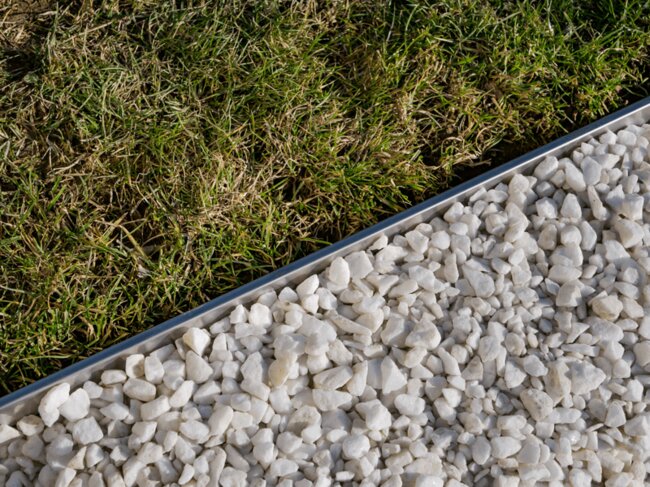
Dealing with level changes and structural transitions
Standard edge trims handle horizontal boundaries well, but problems begin when the project introduces a change in level.
Consider, for example, a spot where an open lawn transitions into a raised terrace, raised deck terrace, or a porcelain paver patio with free drainage. In such situations, simple edging fixed on stakes cannot carry structural lateral loads or handle variable ground depths.
As a manufacturer of adjustable pedestals, we regularly encounter installation problems when contractors try to place loose turf or gravel directly against a raised platform without isolating the foundation. When building a raised outdoor floor using adjustable pedestals, you create an even, self-draining void beneath the finished surface.
To cleanly carry the transition down to lawn level:
- Create a distinct perimeter curb: Anchor an edge beam or a solid concrete curb around the perimeter of the pedestal zone. This locks the perimeter pavers in place and prevents loose bedding material from being washed out into the pedestal void.
- Use pedestals to fine-tune the finish tolerance: Ground levels outside are rarely perfectly flat. Adjustable pedestals allow you to set the height of the terrace or stone precisely to match the exact profile of the top of the perimeter curb, compensating for uneven substrate slopes to within a millimeter.
- Isolate root systems: Separate the lawn's root zones from the permeable pedestal substructure with a deep geotextile membrane fixed behind the perimeter edge. This stops stray roots from seeking moisture beneath the raised pavers.
What to check before buying
Before ordering edging materials, check four practical constraints:
- Subsoil profile: If you are working in heavy clay that swells when saturated and shrinks during summer drought, avoid thin, lightweight plastic strips. Choose steel with solid ground anchors that drive below the layer of seasonal movement.
- Length of spikes and pins: For edging retaining gravel paths, the fixing pins should be at least three to four times the height of the visible edging surface. A 100 mm steel face requires at least a 300 mm pin to prevent lateral shifting under foot traffic.
- Top edge safety: In areas frequently visited barefoot or by pets, look for steel or aluminium systems with rolled top edges instead of cut sheet edges.
- Height changes: If your project transitions from a flat lawn to raised stone surfaces, assess whether you need an edging strip or an engineered raised system supported on pedestals to manage drainage and height changes at the same time.
Walk your garden honestly before choosing edging. Note where the strimmer regularly hits obstacles, where the ground stays wet after rain, and where you need straight architectural discipline versus soft, gentle curves. Matching the material to the ground conditions is exactly what keeps that edge sharp in five years' time.